Monthly Archives: August 2014

Losing Time

How…and I mean how did it get to be mid August already?  Yesterday the local public schools had their first day of school.

Seriously.

Honestly I could never understand this area’s fixation on being in school in August of all months.  Isn’t that vacation month for most people?

Not that it matters for us; my kids won’t be back to school until September.  Still, that isn’t all that far away, and that is where today’s hang ups are coming from. That and the fact that it is rainy 76 degrees.  Fall weather.  Fall weather in a month that is traditionally oppressive and over the one hundred degree mark.

08.12.14a

The morning glories are blooming, which makes me crazy happy, and it means my birthday is just around the corner. Yet it’s still weird because I am just now getting my first ripe tomatoes off the vines (having planted them late didn’t help).

I am in no way ready for back to school, though. I am enjoying mornings of lazing about and reading whatever I please. I am not ready for the stress of worrying about making sure everyone is learning what they need to be.

08.12.14b

There does feel like a lot of pressure to enjoy summer as much as we can for the next few weeks, and I’m not sure how to accommodate that other than to just let us all enjoy doing as much nothing as possible.

08.12.14c

There’s been plenty of staying up late watching far too much crap tv, and I am loathe to give it up.

Fortunately I have one last get away between now and then.  I’ll be headed up to a wedding in the Hudson Valley in a few weeks, and I am excited to see family that I haven’t spoken to in far too long.

I guess my point is, I need to slow down a bit and enjoy the slower pace while I can and not let all the back-to-school/fall-is-coming messages all around me sink in too deep.

08.12.14d

Fall and school will get here soon enough, and I don’t want it said we didn’t enjoy summer as much as we could first.

08.12.14e


Tagged: Garden, Seasons

A Sneak Peek

Here’s a sneak peek of what’s going to be up in my etsy shop on Saturday!

amethyst oviraptor lace yarn with background

maple tree protoceratops sock texture

cormo batt and unicorn batt

Magic Genie falkland roving twist

Bandstand In Blue …


101_3575


- by Joan -


Review: New American Knits

Review: New American Knits post image

american_011_1

First, the facts:

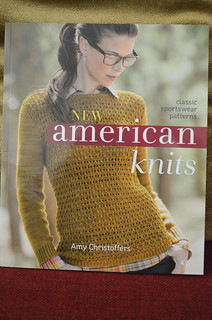
Title: New American Knits: Classic Sportswear Patterns

Author: Amy Christoffers

Published by: Interweave Press, 2014

Pages: 127

Type: Patterns

Chapters:

No chapters, just a list of patterns.

KS: New American Knits

The In-Depth Look:

I think it’s pretty clear that my favorite kinds of knitting patterns are the ones that are unique but are eminently wearable on a regular day. Crazy shapes and weird ruffles or whatever are interesting but we don’t live in Edwardian England anymore. Most of us need to be able to actually do things and dangling sleeves and such only end up getting in the way (even when they look marvelous).

So, books like “New American Knits” are my favorites. Pretty, classic shapes but with interesting details to make them look special but not get in the way.

The author says in the introduction:

“The ‘American Look’ is simple and practical. The term comes from the style of the 1930s and 1940s–the moment in fashion when American designers stopped looking to Europe for inspiration and created a style that was uniquely their own. The American Look is fresh and modern, even by today’s standards; tailored and unfussy but with whimsical details. Think Katharine Hepburn or Lauren Bacall looking relaxed and casual, crisp and tailored, all at the same time. New American Knits is about applying traditional knitting skills and textile motifs to contemporary wearable knitting. It is nostalgic but not vintage, with textures and colorwork motifs adapted and applied with an eye toward creating a modern wardrobe.”

Accordingly, Amy Christoffers has filled this book with patterns–sweaters, wraps, hats, and the usual assortment of accessories–that look fun to knit but will be easy to throw on and wear for years to come.

I liked the touch that each pattern is named after an American artist–not all of whom I’d heard of. But as the author says in the introduction, she hopes we’ll be inspired to check them out.

All in all, this is a great book–full of practical and beautiful patterns.

You can find your copy at your local bookstore or at Amazon.com.

Want to see bigger pictures? Click here.

This review copy was kindly donated by Interweave Press. Thank you!

My Gush: Classic and wearable.

Sunday Morning

photo props
I have no photos on my camera from August that aren’t of photo props or products. Here’a a rare look at my dinning room table without it’s customary pink tablecloth. Also, I am kind of in love with these dishes.

lasagne singles
I’ve been doing a bit of spinning here and there. (Don’t these singles remind you of spinach lasagna?)
And I just cast on a top-down raglan sweater for Brock. It will double as a sample for my fall knitting class, details to come.

Mostly today, I am editing photos and writing copy and drinking coffee when I am not distracted by this little guy.

1972287_10100117278759809_164760275509608177_n

Pink Bucket …

100_6666

- by Joan -


Two-Part Nappies Revisited: Part 2

A quick tutorial on how to make your own diaper inserts using my pattern (or your own drafted pattern).
These diaper inserts require an outer waterproof cover of some kind, and will fit from newborn to 6kg+ (at least they're still working for us!).

the absorbent inserts inner flannel / outer terry cloth
Materials
  • Absorbent fabric (German term in parentheses) such as flannel (Flanell/Molton), terry cloth (Frottier), hemp fleece (Henf), or jersey, etc...  Feel free to recycle materials you already have; like an old flannel blanket, an old sweatshirt, or a towel.  I use terry-cloth on one side because I like to use Snappis and avoid hook & loop closures, but feel free to use whatever closure method you want.
  • Elastic (I used 1/4" wide elastic that is resistant to high heat)
Instructions
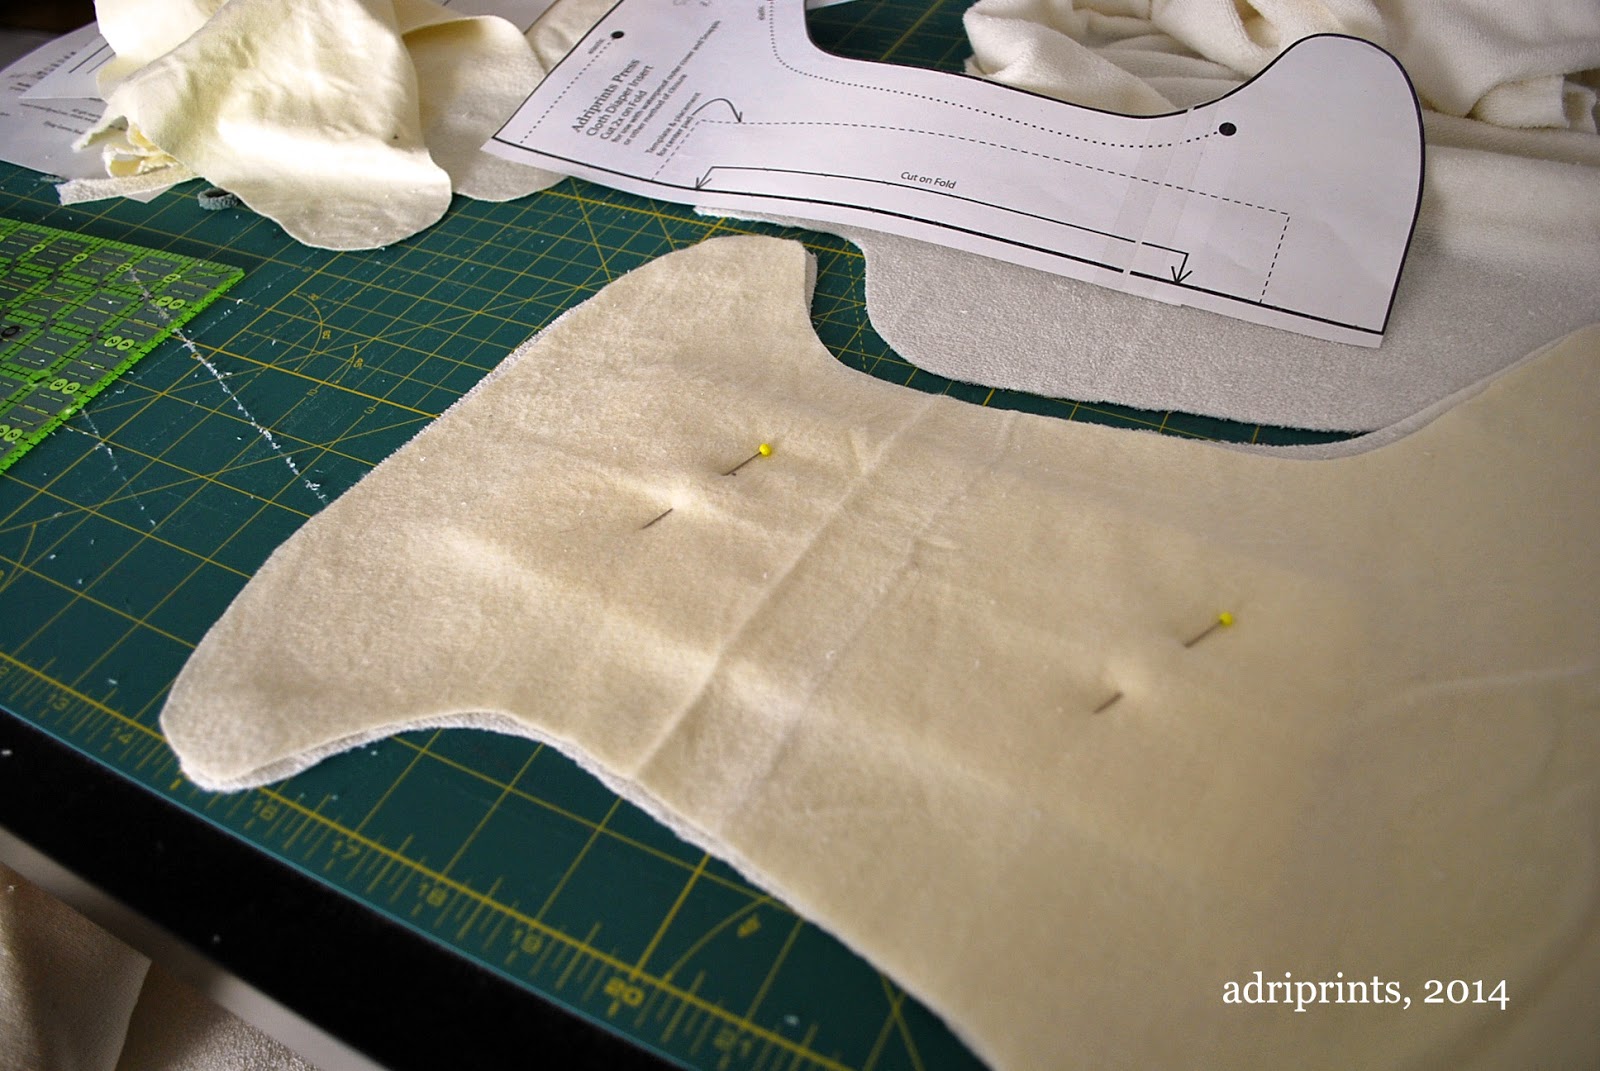
1- Place the paper pattern on the fold, and cut your materials for the diaper insert.  Don't forget to transfer all markings to your fabric.


2- Cut fabric for center pad (it's that center rectangle with the dotted line in the pattern).  I cut 2 layers of bamboo terry-cloth.
3- Layer the 3 elements as follows: absorbent material #1, pad rectangle(s), absorbent material #2.


Center the pad, and secure all three layers with pins.


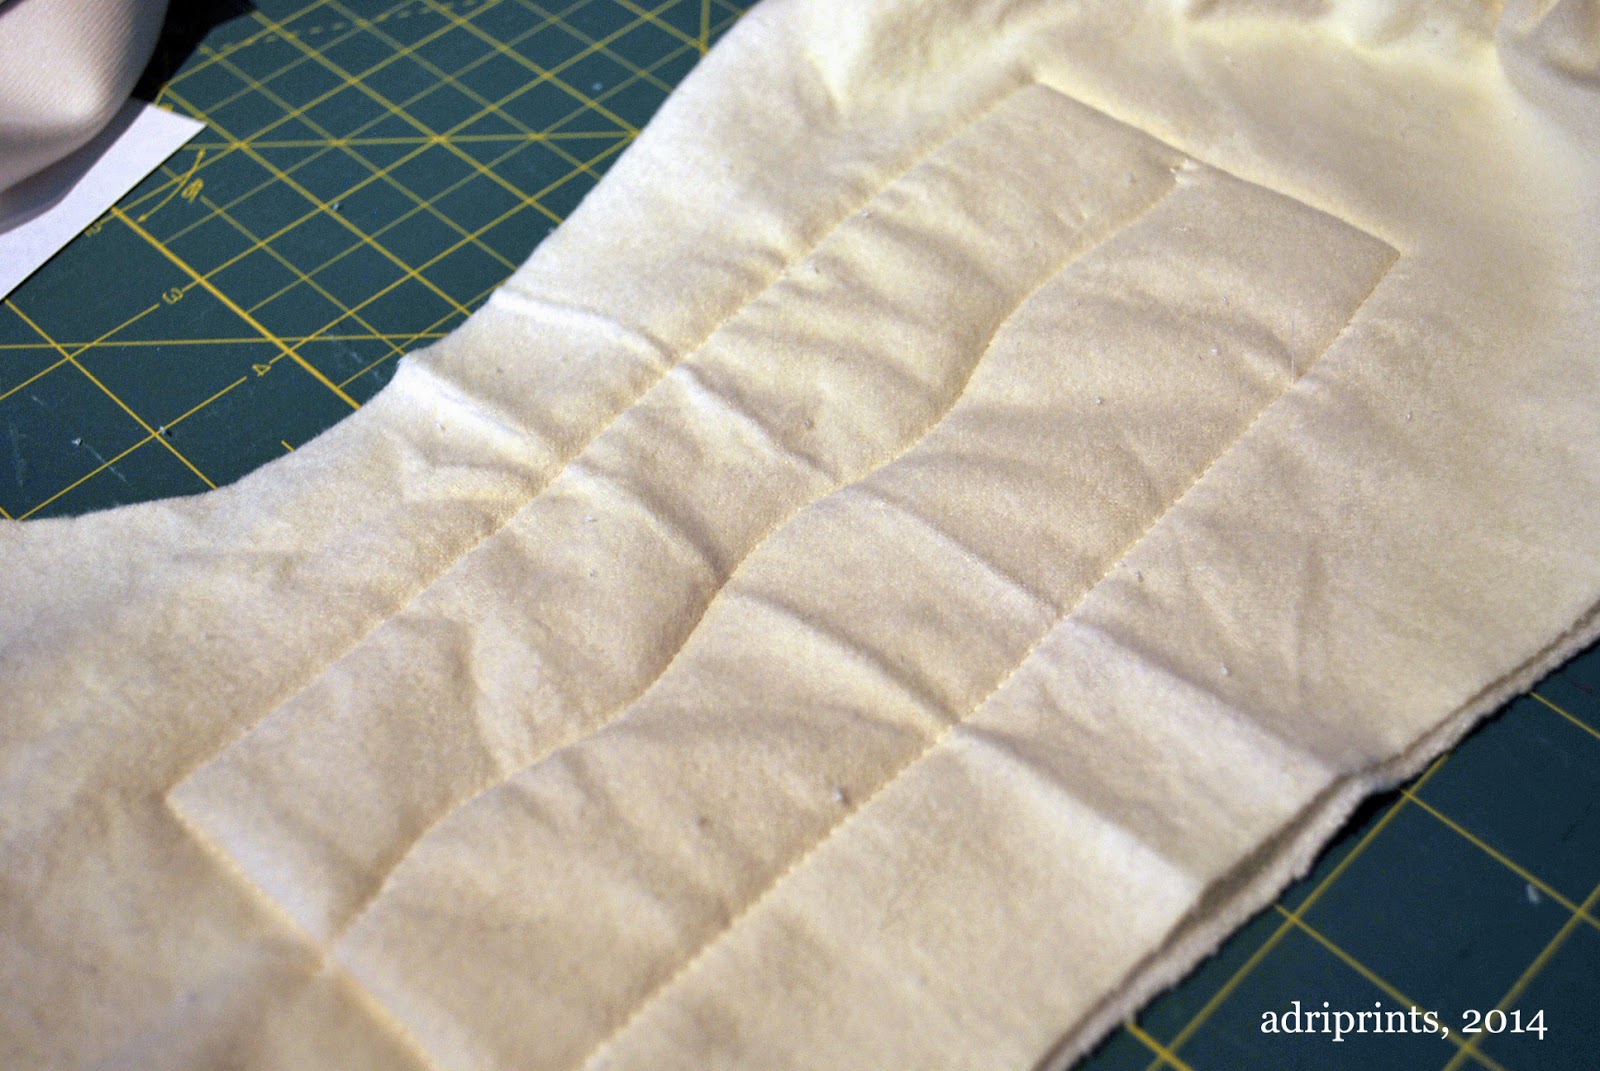
4- With the smoothest fabric facing up, sew 1/8" to 1/4" within the four edges and across the center of the pad to secure it in place.


5- Measure the elastic band for the sides and top, then cut elastic 2-3” shorter than the measured length.
6- Tack both ends of the elastic where indicated and pin at the center.  Make sure to leave a little space on the outer edge for finishing the fabric.
7- Use a zig-zag stitch to attach the elastic on the back of the insert and the leg openings, stretching the elastic between the two outer layers as you go.


8- Use a zig zag stitch or overlock around all the outer edges to finish.  I stretch out the back and sides while feeding it through the overlocker.  I do not serge over the crinkled/gathered edges.

Wash a few times, and then let baby poo all over your work! Hahah!

Two-Part Nappies Revisited: Part 1

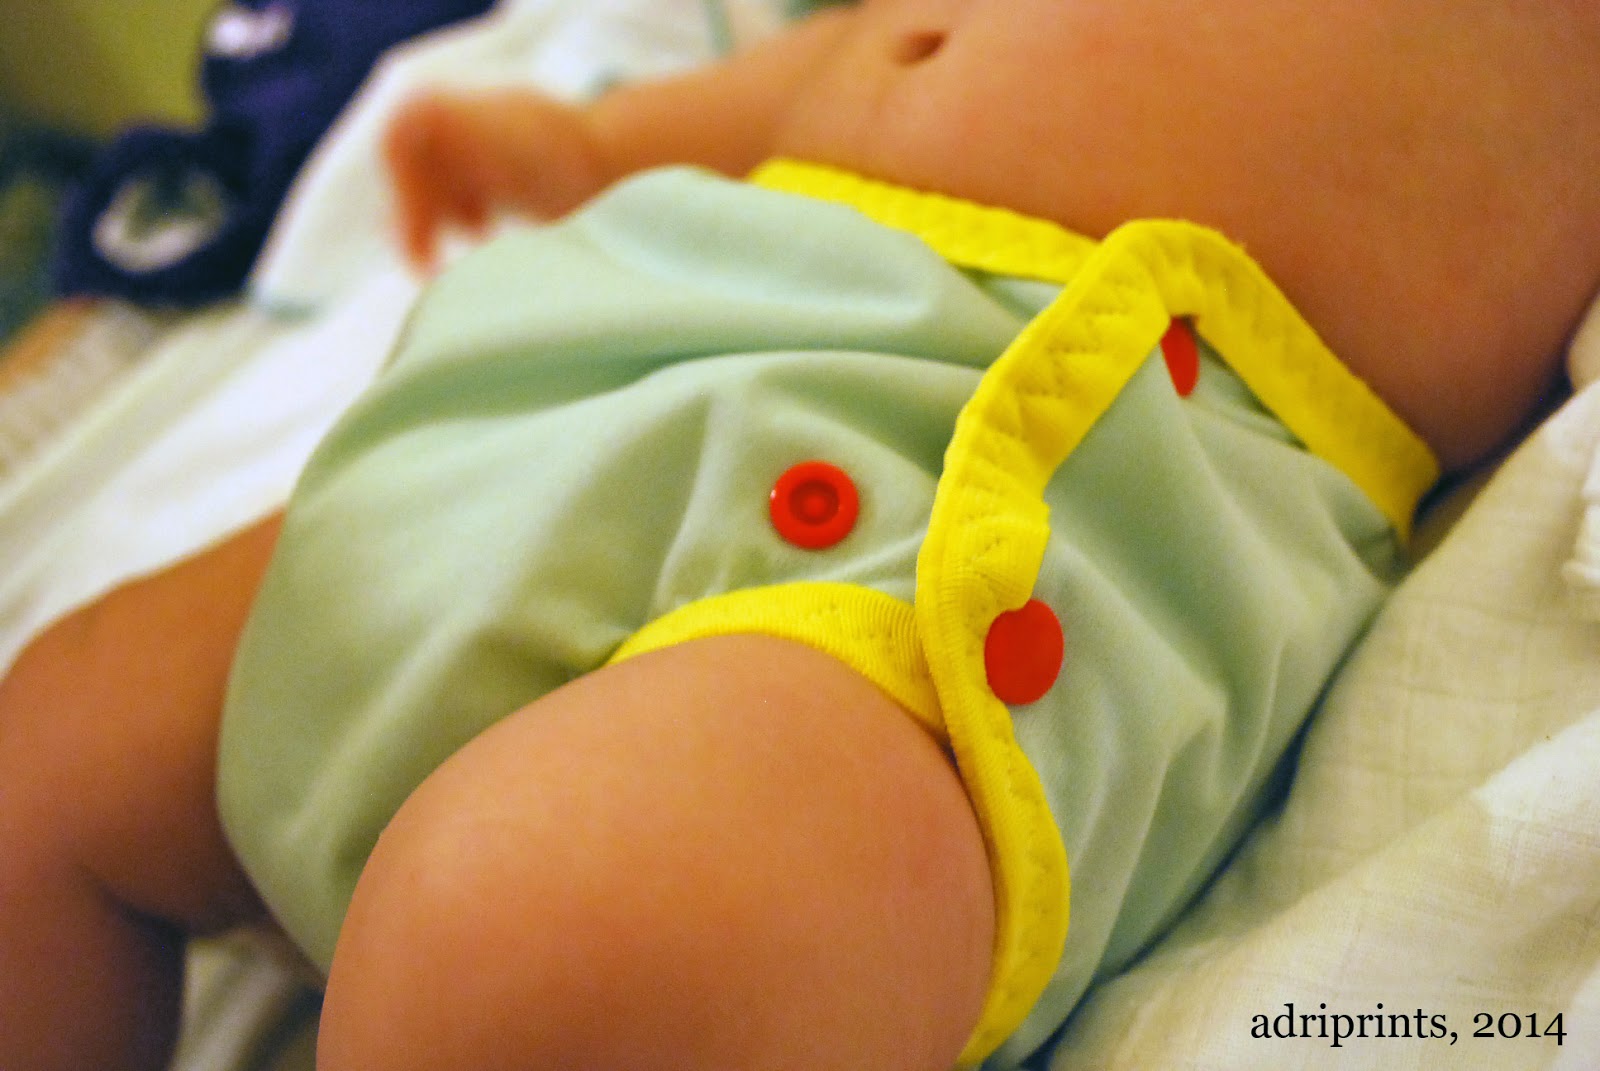
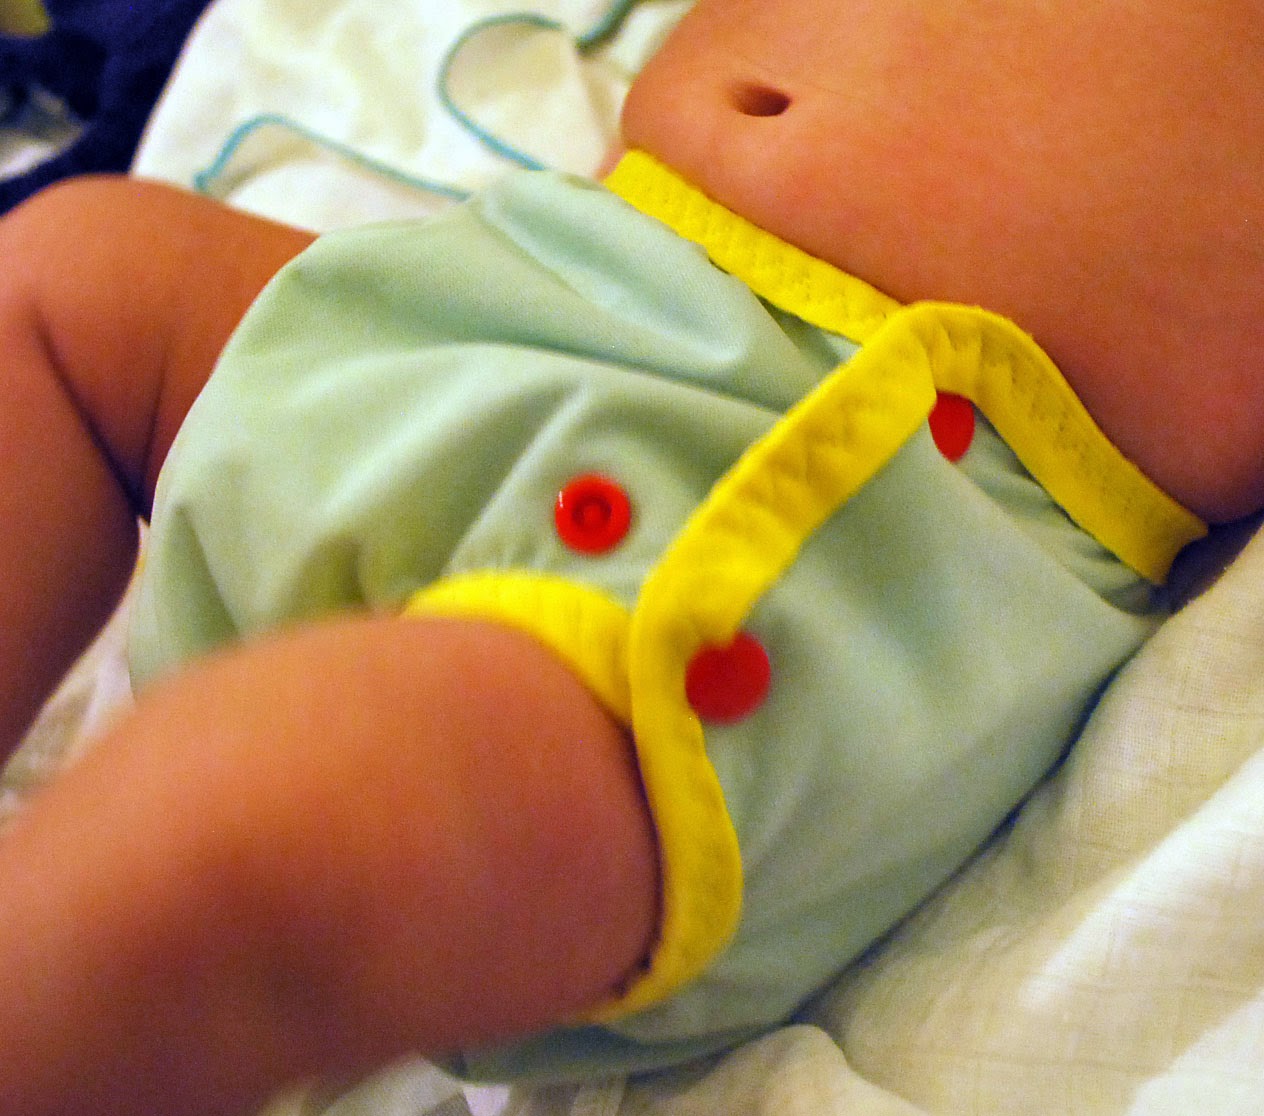
This post covers lessons learned in making diaper covers at home.  In cloth diapering, the outer cover is a waterproof barrier that prevents leakage.  These can also be used over regular disposables to prevent leaks, or just because they're really cute.


After a few mishaps and lots of leaks, re-purposing PUL, and studying more cloth diapers, I think I've found a few types of cloth diaper systems that work for the little dude.  This particular diaper cover is a homemade version of Motherease's diaper cover the Air Flow.  It works really well with the diaper inserts I make at home (more on that later).  These are not easy to come by here in Germany, so to me it's worth the effort of making more of them.

What I've learned so far:
FOE - fold over elastic goes on a LOT easier if you use a triple zig-zag stitch.  This video was key.
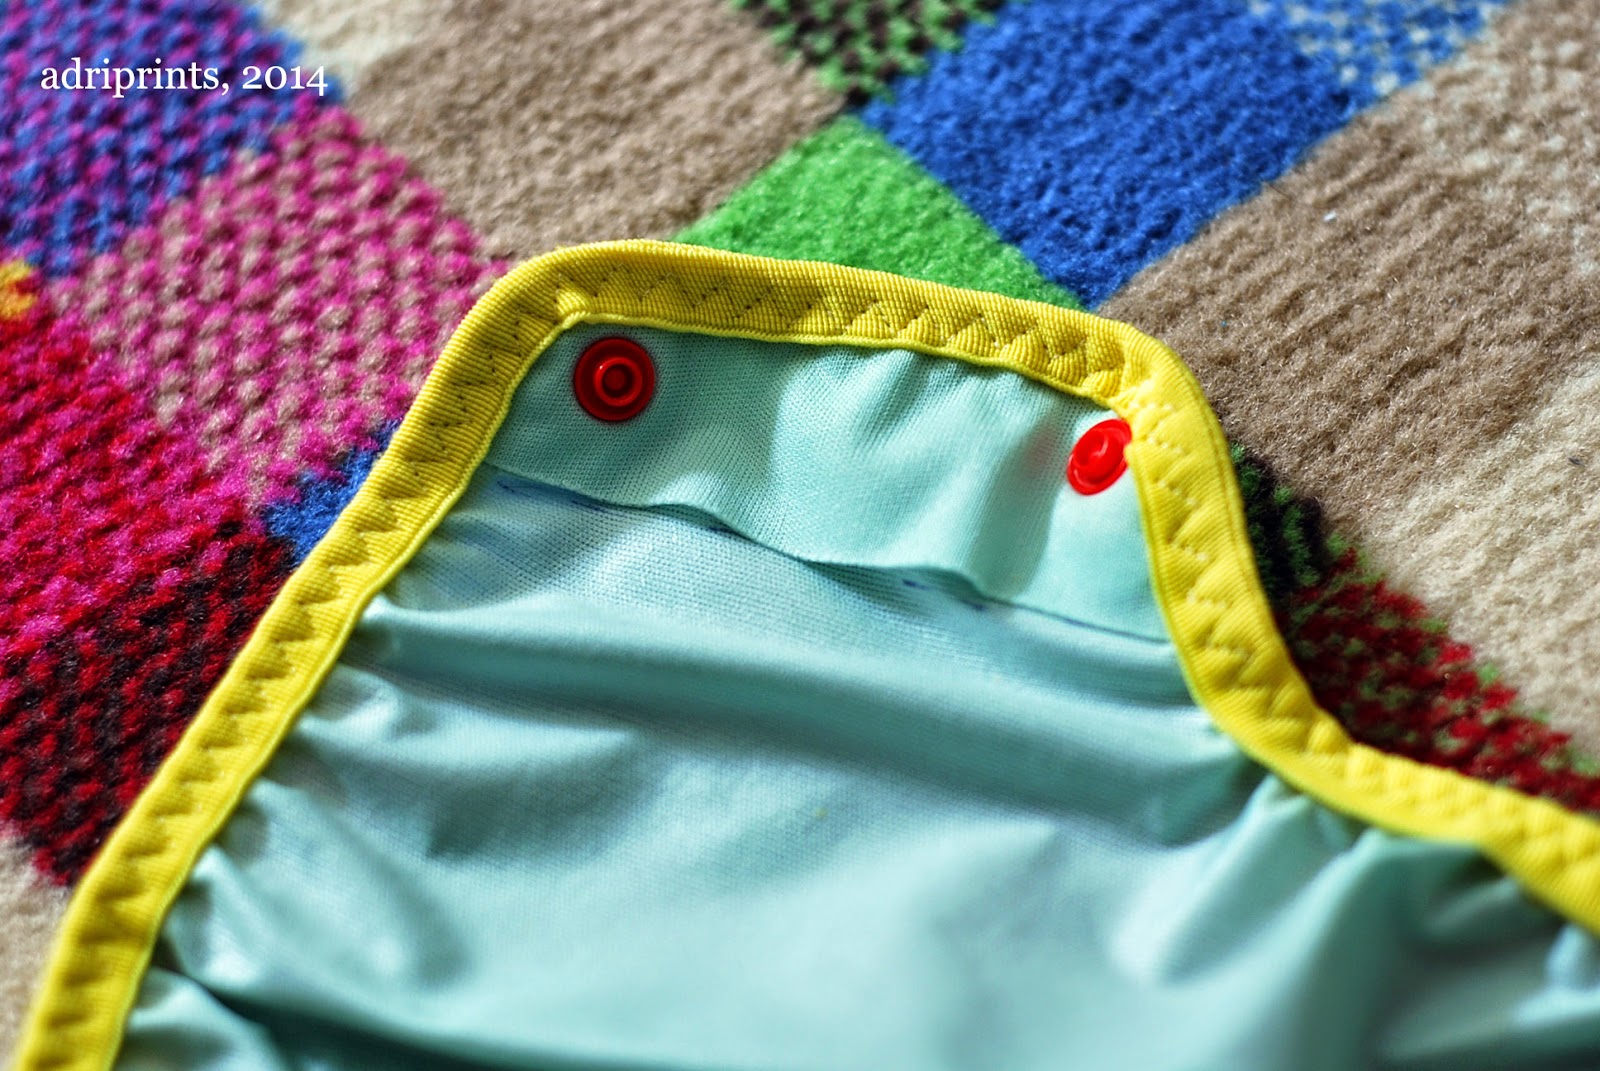
detailed photo of the inner wing of the diaper cover


KAM snaps - these snaps make a better seal with the Eco-PUL I bought from Diaper Sewing Supplies when there are 3 layers, and it's been exposed to warmth (i.e. it's been through a 60* wash and tumble dry).  That's it!  That is what was missing last time.  I didn't wash/dry the cover before trying out the snaps, and it was too thin.  Now I'm kind of sad I chopped up the grey & yellow cover before washing/drying.  It may have been salvageable.  Oh well.


With my latest effort, I went with a retro color combination!  Aesthetics aside, they work really well.  No leaks or poo-splosions yet!


As for the diaper inserts (the absorbing inner part of these two-part systems), I've drafted a pattern for anyone who wanted to try it on their own!  You can download it from the Google-Drive link here.

Come back this weekend to see the photo-tutorial on making your own diaper inserts!

Rigging …


DSC_0287

- by Joan -


Designer Insights: Designing a Collection

I’m sure every indie knitting designer goes about designing their collections differently, but here’s what I do.

  1. Decide upon a theme.  This is the driving force behind the collection.  It guides pattern choices, color palette, yarn choices, and more.
  2. Decide on the palette.  I like to have a palette from which I work; to me it makes the collection feel more cohesive.
  3. Have a broad idea of what types of patterns I want to do.
  4. Start working on specific inspiration idea, colors, and yarns for each pattern. Often I will get yarn in an appropriate colorway, then decide on the pattern specifics later. This usually happens in person at TNNA or other yarn-related events.  Otherwise I’ll come up with a pattern idea and then find specific yarn for it.
  5. Develop the patterns. Write rough drafts of the patterns, including charts, grading, schematics, etc.
  6. Knit the object from the rough pattern, adjusting as needed.
  7. Send the pattern to the tech editor.
  8. Lay out the pattern in accordance with my style sheet.
  9. Get the pattern test knit. (This in itself has a slew of steps!)
  10. Photography.
  11. Write any additional supporting material.
  12. Locate any other supporting material such as supplemental photographs, etc.
  13. Hyperlink to appropriate websites.
  14. Double check all formatting.
  15. Ensure patterns are consistent (same text for same type of actions, same formatting, etc).
  16. Ensure all the charts and keys are consistent (font, layout, background color, index line width and color, etc).
  17. Ensure the masthead information is correct and has hyperlinks as appropriate.
  18. Ensure all the abbreviations are listed.
  19. Update the table of contents.
  20. Ensure I have all the info from the yarn companies re: contact info, blurb, etc.
  21. Get blurbs/comments for the back cover.
  22. Send to copy editor.  Possible second pass by tech editor.
  23. Review.
  24. Print working copy.
  25. Review again.
  26. At some point (usually any time after #7) upload draft patterns to Ravelry.
  27. Send out review copies.
  28. Final export to PDF.
  29. Publish to Ravelry (and then other sites).
  30. Post to blog, Rav group, other groups as appropriate.
  31. Send to Knit Picks.
  32. Get PDF to distributor (or break into individual patterns, which requires, of course, more formatting, checking, etc!).

I’m sure I’m leaving stuff off, and obviously, a lot of those steps have sub-steps.  Right now, with TEXTURED and LACE 2, I’m anywhere between #7 (my tech editor has the last 3 shawl patterns to edit) and #22 (TEXTURED is with the copy editor).

work desk with a cup of coffee computer laptop, notebook, pen