Tag Archives: DIY

3 Hours Past’s Blank Canvas Tee: Maternity Hack

During Me-Made-May 2014 I'd like to share some of the me-mades I've made in more detail.  In order to see if I could replicate a maternity/breastfeeding top that I love, I tried my hand at drafting and here are the results!


If you're just starting out sewing with knits, a great place to start is a simple dolman sleeved t-shirt like the Blank Canvas Tee from 3 Hours Past the Edge of the World's Blog.  If you're past that, are ready to try some drafting, and would like to make yourself a breastfeeding or maternity top, then this is the mod for you!

Start with the Blank Canvas Tee from 3 Hours Past...

Added Materials

  • additional fabric because the length of the T-shirt is extended.
  • 1 piece of elastic - soft baby elastic or elastic about 1/4" wide that suits your fancy in the width of your t-shirt + 2" or so.

Extra Skills

  • sewing with elastic

Special Tools

  • twin needle
  • stretch needle 75/11  (a whaah?  Here's a needle guide from Schmetz)
  • pencil and ruler
  • maybe tracing paper if you don't want to write on your pattern
Inspiration: From boob design, this short sleeve maternity/nursing top is one of my faves.  It fits really well and the split top allows for belly room.


Okay.  Ready to make your own?
First print and assemble your pattern pieces from 3 Hours Past... Then, here's our goal: we want to create two pieces for the front that overlap by around 5" / 13cm for the smaller sizes.  You'll likely need a bit more overlap for the larger sizes or if you usually find yourself doing large bust adjustments.

The goals.
Measure from just below the armpit curve to your goal overlap length, then add 1" / 2.5 cm so you have enough to turn up a hem.  Trace what you have onto your fabric, or onto tracing paper to make pattern pieces.  I've highlighted what I did to the pattern in the photo below.


See the red highlight?  That's the top front piece.  The blue highlight shows where the the bottom front piece would be.  For the bottom, I took the design line straight up and did not taper in like the pattern - it's housing a big belly at the moment, and I thought it would be advantageous to have a little leeway.

The other change I made here was adding length.  Add what you will.  My goal was to have a t-shirt around 28" so I added a few inches to the bottom of both the back and front bottom pieces to achieve that.  I just followed the design lines to my goal length. To calculate length, I measured from the peak of the shoulder, parallel to the fold line.

Alright, you've traced and cut your 3 pattern pieces.  Do you have your edging pieces (no change from pattern) cut, too?  And those two strips of interfacing for the shoulders?  What interfacing? I used Vlieseline G785 since it's stretchy, lightweight, and works with knits. Everything cut? Great! Let's get these pieces ready to put together.

Assembly:

  1. Step 2 from pattern: Iron on interfacing to WS of back piece shoulder edges
  2. Front top piece - finish bottom edge with zig zag stitch or serge, turn up and twin needle the hem from the right side
  3. Front bottom piece - add elastic to top RS edge using a triple zig-zag stitch.  How?  I simultaneously slightly stretch the elastic while guiding the main fabric under the presser foot.  I do not stretch the main fabric.  Right hand for elastic, left hand for guiding fabric.  I do this 2" at a time so I don't lose my nerve.  Then, I fold over the elastic so I only see the final fabric, and straight stitch the bottom edge of the elastic.
  4. Overlap the two front pieces- With RS facing you, make sure the front top is on top, and the front bottom is behind it.  Make sure the overlap is what you desire and pin.  Stay stitch within the seam allowances (so ~1/8" from the edge) to secure the overlap.
  5. Step 3 to 9 are the same as the original pattern.
And there you have it!  You've made a maternity/breastfeeding t-shirt!  Feel free to change the neckline and make it a scoop neck like in the inspiration photo.  I like crew necks so I kept the pattern as is.  But, I think I'm going to try and make a tank or sleeveless v-neck.  We shall see!

Week 1 Round-up, MMM14

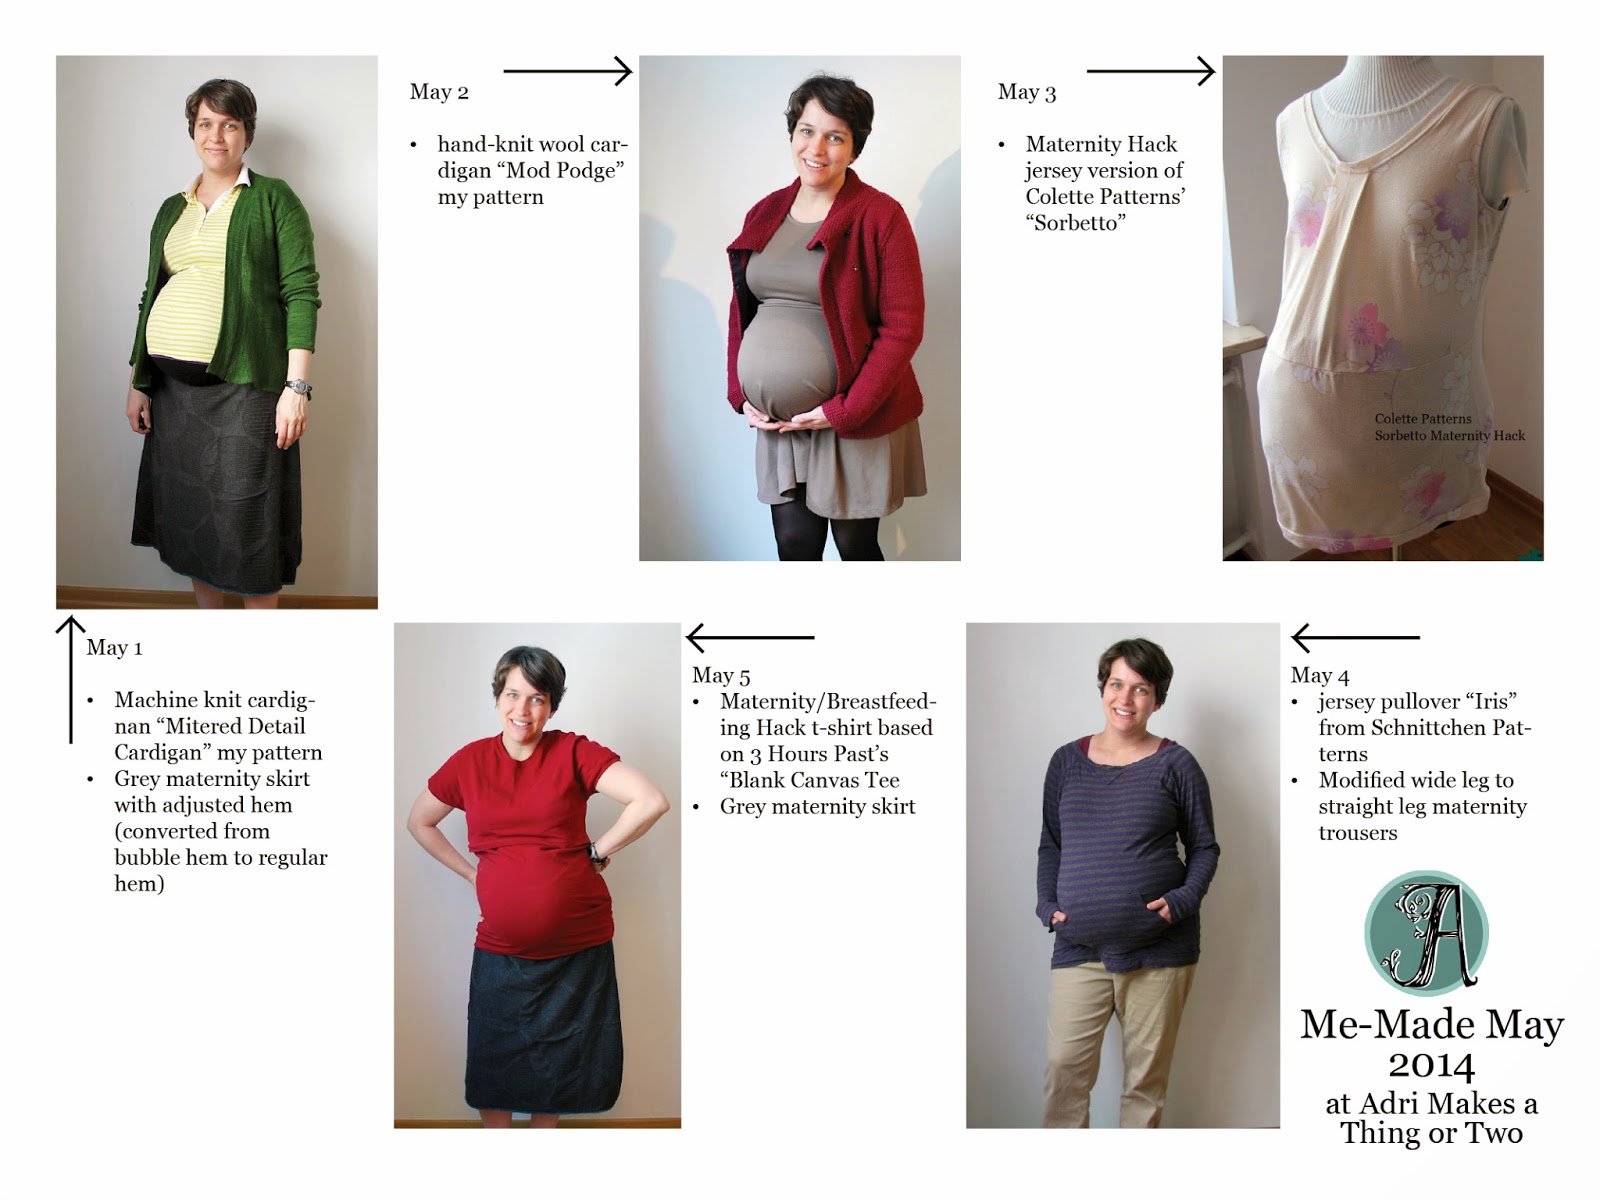
Here's the weekly round up of me-mades worn this past week!


If you'd like to make any of the above items that have a pattern, here are the links:
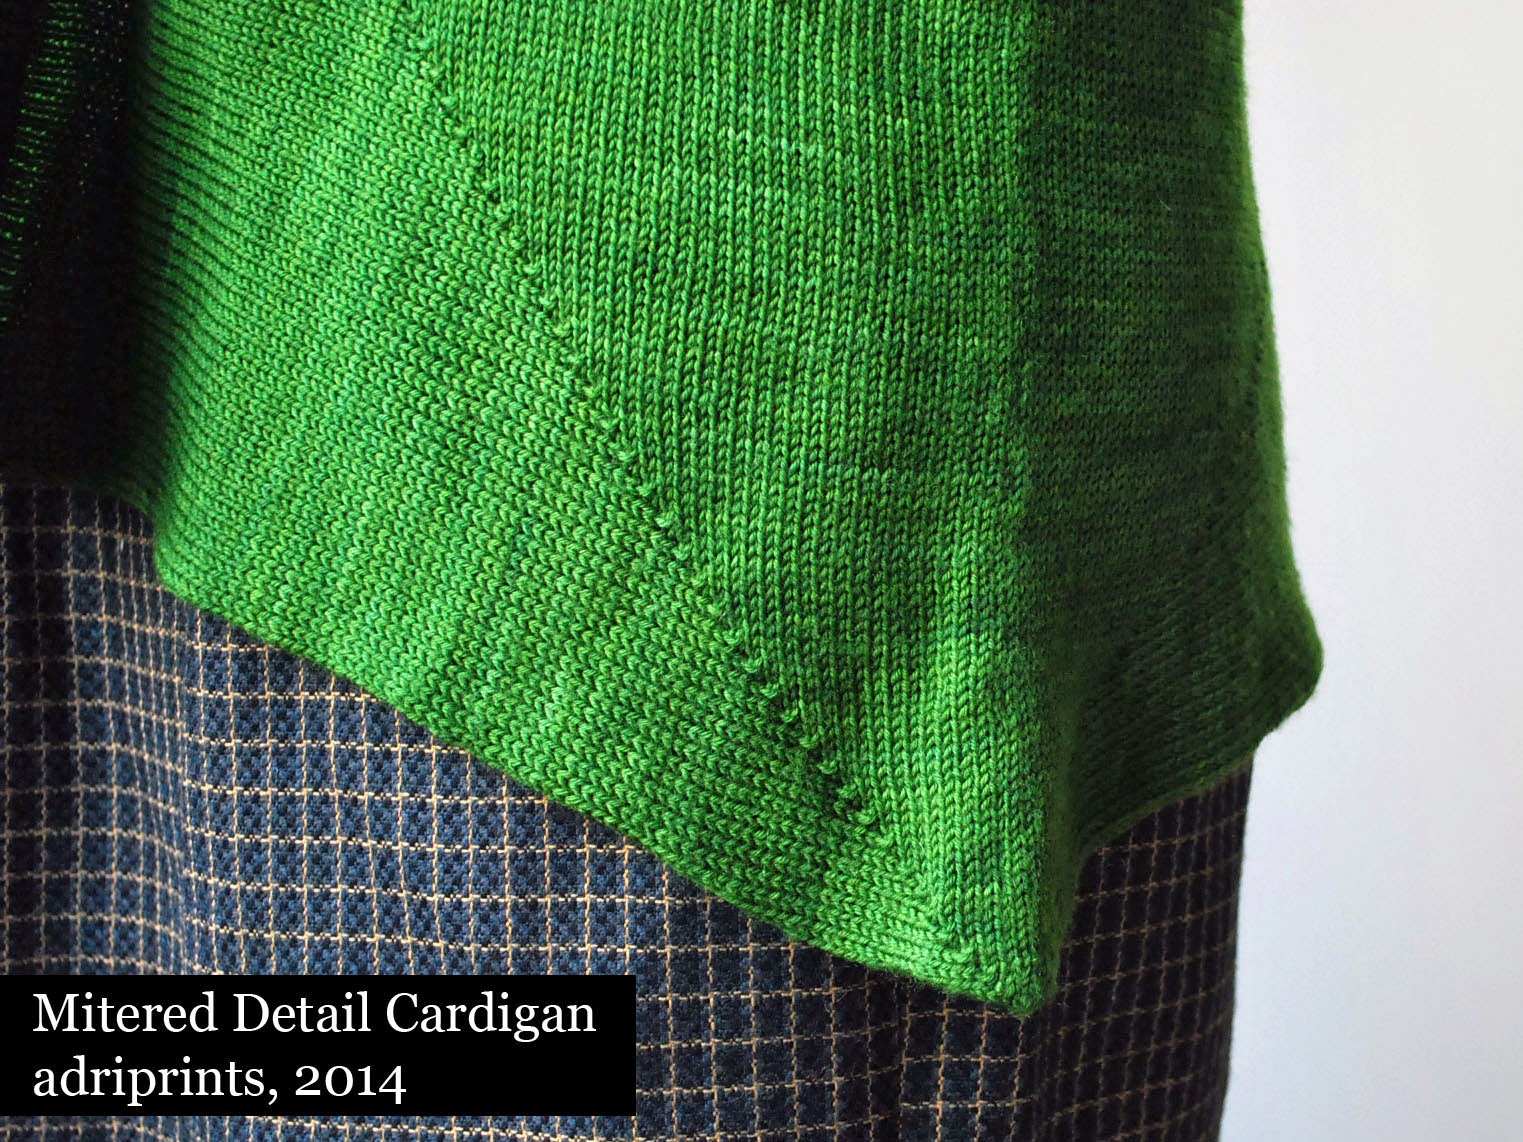
May 1- Mitered Detail Cardigan can be found here on Ravelry.
May 2- Mod Podge can be found here on Twist Collective's site or here on Ravelry.
May 3- Colette Pattern's Sorbetto can be found here and my modifications can be found here.
May 4- Iris Pullover from Schnittchen can be found here.
May 5- Blank Canvas Tee can be found here and my modifications here.

Colette Sorbetto: Maternity Hack

During Me-Made-May 2014 I'd like to share some of the me-mades I've made recently.  For week #1 of MMM14, I've been wearing this particular garment almost daily ((or rather, nightly))!  It's a maternity pajama based on Colette's free pattern, Sorbetto...


During this pregnancy, I've inherited so many things from friends.  One of my favorite items was a Sorbetto top I helped a friend make for her first pregnancy.  I took her measurements and devised a way to use the pattern to make her a top.  We learned that by leaving the bottom part of the pleat open, you get a lot of room for a belly.  We also added 5" of length at the waist for extra coverage.


One of the drawbacks of the first prototype, though, was that it was made out of plain cotton and so it did not allow for freedom of movement or stretch should you want to sleep in it.

So, when it was my turn, I thought about improvements that could be made to last year's prototype.  Firstly, I made the decision to try a single knit jersey.  I had a big chunk of single jersey fabric from my attempt at this "wrap dress pattern" from Burda... There was no way that dress was going to work for me, and so I was happy to chop it up for this Sorbetto Maternity PJ top.

Yes, that's my dressform with a bag of fabric scraps stuffed into a belly band
to simulate my enormous pregnant belly.  It's a little lumpy, but you get where I'm going.
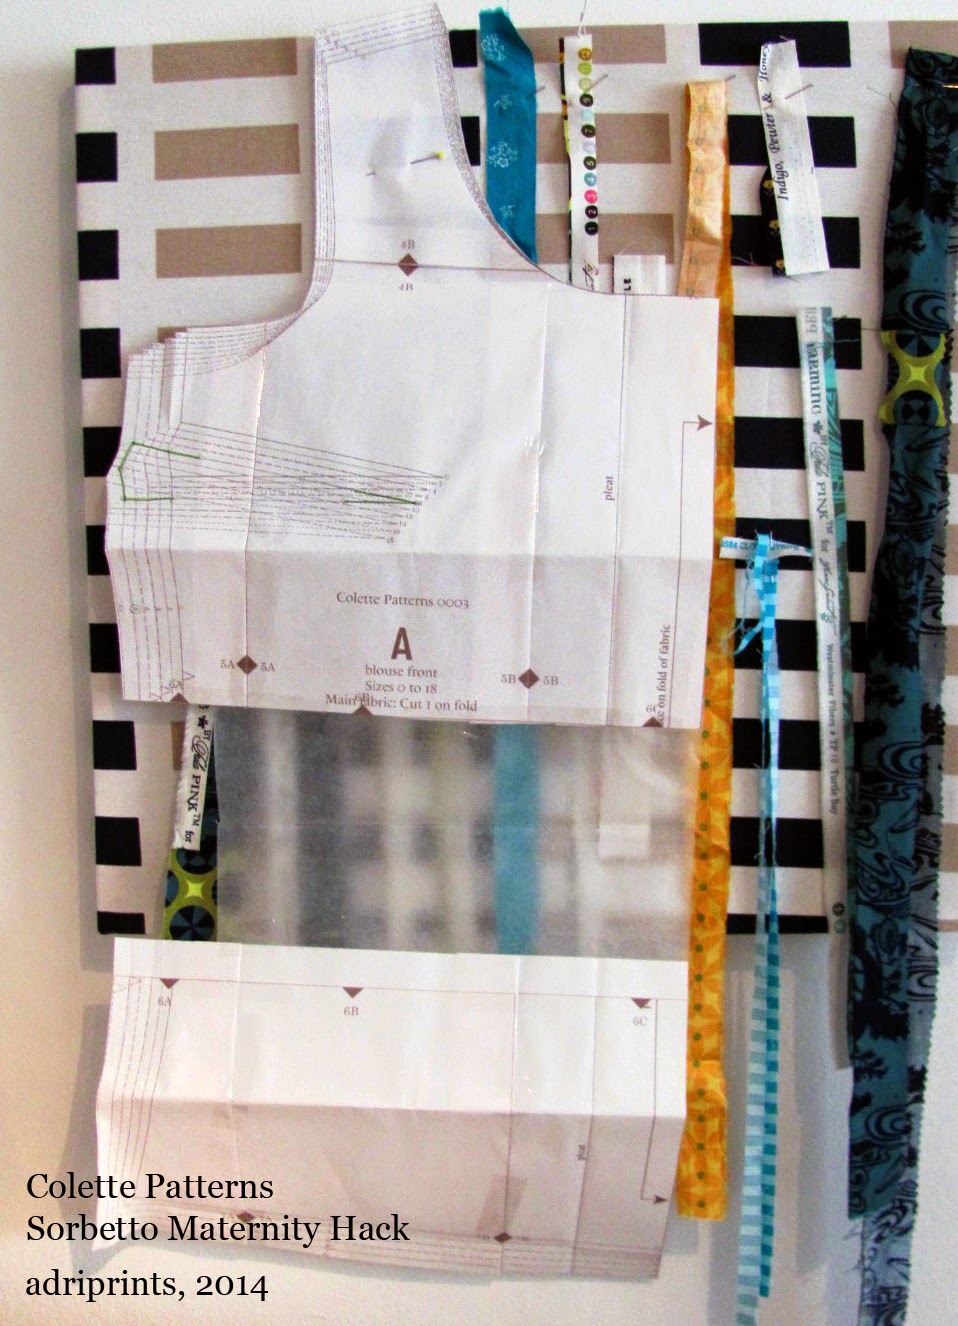
I had to patch 2 pieces together for the front piece since I didn't have any pieces wide enough to trace the pleat at the front.  I once again added the 5" at the waist, and I only sewed the top 5" of the pleat down the front.

Secondly, all the edges were finished with self-fabric so they're stretchy.  This was done by cutting 1.5" strips and folding them in half, then using the serger to attach them to the edges before the shoulder and side seams were sewn.


So, if you're attempting this at home... 

Colette Patterns Sorbetto is your base pattern.
Drafting: Add 5" length to the waist of front and back piece (or more if desired).
Cut 4 strips of 1.25" self fabric or knit rib with max stretch going with the long edge: 1x strip @ 2" longer than the front neck circumference,  1x strip @ 2" longer than back neck, 2x @ 2" longer than the total armhole circumference.
  1. Make bust darts as written
  2. Sew only top 5" of pleat, stay stitch pleat at neck edge
  3. Attach edging to front and back neck edges (fold edging strip in half, 3 raw edges together, serge)
  4. Sew shoulders
  5. Attach edging to armholes
  6. Sew side seams
  7. Turn up hem, press
  8. Twin needle finish for neck edge and hem, single needle top stitch for armholes 

And that's pretty much it!  You can stabilize the shoulders if you want, but mine is a pajama so I don't really care, and it hasn't rippled even after washing.  The front neck edge could be tighter if I had used ribbed knit fabric.  And, that's it for now!

Me Made May, 2014


I can't believe it's already May tomorrow!  I signed up again to participate in this years's MMM 2014 over at So, Zoe...What do you know? and here's what I pledged on April 1st on Zoe's blog...
I, Adri H. of Adri Makes a Thing or Two (adriprints.blogspot.com), sign up as a participant of Me-Made-May '14. I endeavour to wear at least one handmade item each day for the duration of May 2014.

Can't wait! Last year was so much fun. :D
...because I'm crazy, and I somehow forgot my official due-date is in mid-May.  My internal monologue at reviewing what I posted was this: "Adriana, have you lost the plot?!   None of your clothing fits you at this point!  ¡Qué locura! (What madness!)"  in that order.

Oh well, a pledge is a pledge, right?  Ack! Yes, it's time to bring out the hand-made accessories and start sewing up some summer dresses, but let's be realistic here, people.  At this point in the pregnancy, the circumference of my belly is nearly the same as my height (only slightly exaggerating) which means my clothing options are beyond limited.  For my own sanity, I'm going to attempt to wear 5 "me-made" items a week instead of 7.  I will post a weekly round-up, too.  ((oh gosh, I'm really nuts, aren't I?  Well, waiting for the surprise of labor is kind of taking its toll on me.))

There may be a gap in posting, too... cross your fingers that the baby is healthy and that we make it through labor in good working order.  I've already been hospitalized twice during this pregnancy, and am looking forward to the familiar faces of the nurses and doctors who already know me, but I would prefer we not have an extended visit.

Alright, that's it for now!  I'm looking forward to sewing some stretchy knits because that's all that fits! :D

Tutorial: Zig-Zag Quilt

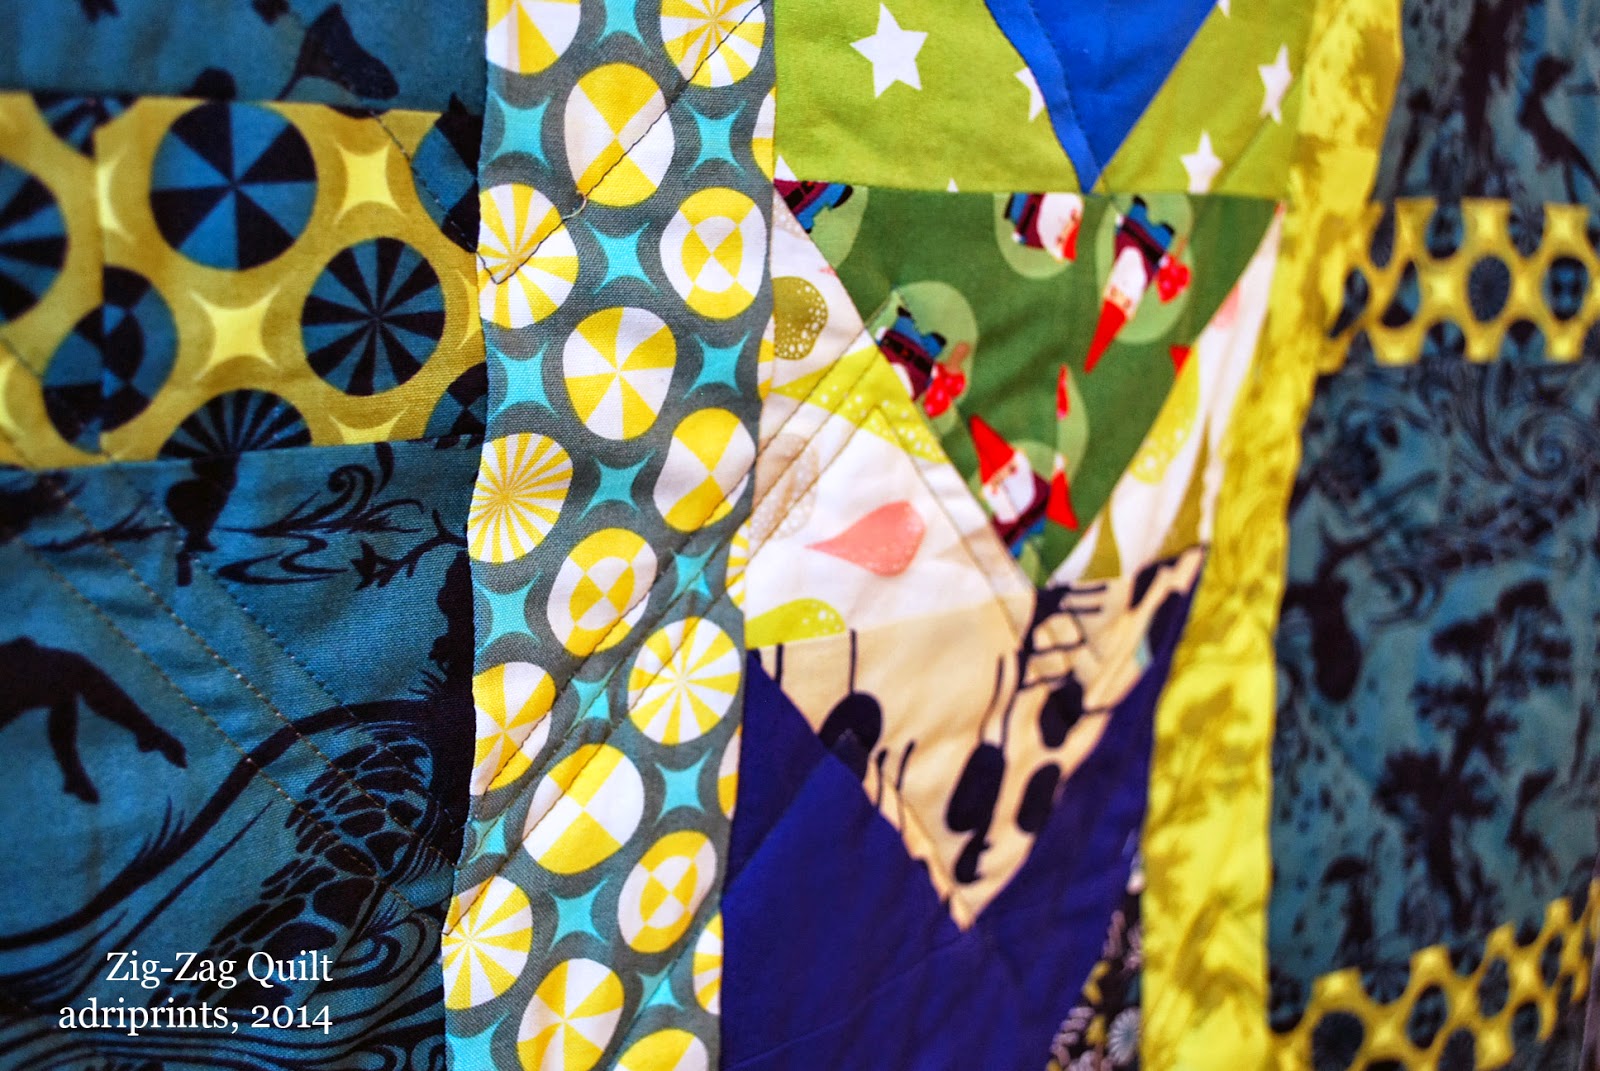
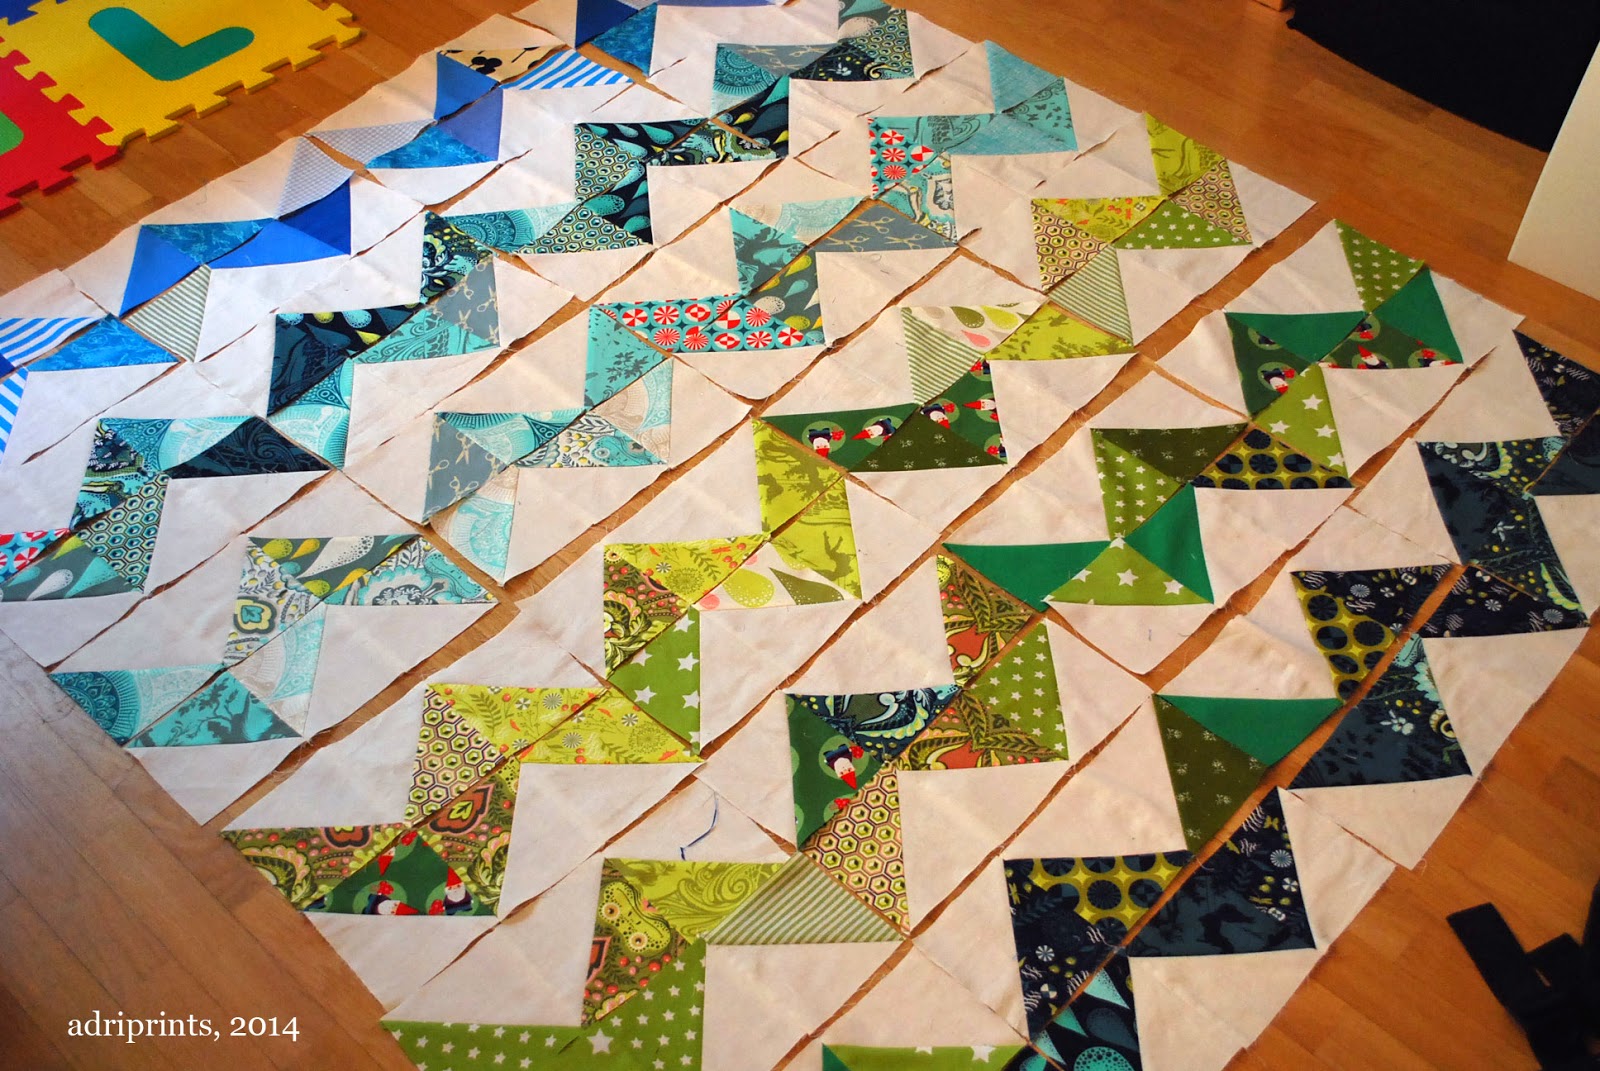
You can make your own Zig-Zag Quilt top from stash scraps, and it's not too difficult!

Main requirement for piecing this quilt top:
72 white pieces of fabric, 4.5" square
72 print pieces of fabric, 4.5" square

You'll also need:
- additional yardage for sashing, backing, and binding
- batting for the center of the quilt sandwich

Side Note: Someone asked me how I get the fabric for my stash and how I chose the colors for this quilt.  My stash was built up from fat-quarters and yardage for garment sewing.  I am a bit compulsive after sewing projects.  I can't remember where I got the idea to save scraps larger than 2" square after sewing projects.  But, that's what I do. After a project, I cut down the smaller bits of fabric into two categories: strips or squares.  I trim the squares to be 4.5" because that's the size of my plastic template.  And the smaller stuff gets turned into strips or dresden plates.  Then, I have little clear plastic bags where these scraps are organized by color.  Obsessive yes, but hey, it made this project a real snap!


First, the basis of this quilt is the half-square triangle.  It's known in the quilting world as the HST.  After you've mastered that, you're pretty much set to go.  Here's how I did the HSTs for this quilt...


As described above, I started with two fabric squares in contrasting colors of identical size.  In the case of the Zig-Zag Quilt, I started with squares that measured 4.5".  As long as all your squares are consistently cut and pieced, it's all good.  Each pairing makes 2 HSTs.  You lay one white, one color square with right sides together.  Mark the diagonal, and stitch 1/4" above and below the mark.  Then, cut across the diagonal mark, open, and press the two squares you just made.  I do loads of squares at a time by chain piecing and then press them all at once... I learned this from Craftsy's 2012 Block of the Month with Amy Gibson - the February video here is all about the HST.

Once you've made a bunch of these HSTs, they can be combined in so many different ways!


In the case of the Zig-Zag Quilt, here's how I pieced the top:


Each row of zig-zags used 24 HSTs.
The final quilt had 6 lines of zig-zags, which equals 144 HSTs.
This also means that I started with a total of 144 squares of fabric: 72 color and 72 white squares.

In any case, once I had the long pieced rows of zig-zags, I carefully joined them across these rows, making sure to use pins to line up all the seams.  I tend to press my seams open, and this was no exception.


Next, I added sashing to the outer edge of the top (that white outer frame).  My sashing had extra width to it.  If I remember correctly, the sashing was 6" wide so I could trim it down if I had to square up the quilt after free-motion quilting.  I didn't end up FMQing, but it's always good to have a bit of wiggle room for squaring up.

You cut your batting (the fluffy middle) about 4" longer and wider than your top so you have 2" of adjustment... just in case!

For me, the trickiest part of this quilt was the backing.  If you have a really vertical/horizontal element on the back like in my version of the quilt, you want to be sure to hand-baste a few cross-hairs across the quilt so it's accurately aligned to the front.  I ran a line of basting down the center of the big vertical element, and across both the horizontal elements.  This help me to be sure it was oriented correctly to the quilt top. If you want to avoid this extra step, just use a non-directional print, and a whole cloth style for the back.


My first quilts lacked this kind of precision (and were really wonky) because I didn't understand how important basting was.  Once you learn to hand-baste quickly, there's no excuse! It takes a few minutes for a quilt of this size.  I did both pin and hand-basting for this quilt.

Lastly, is the actual quilting.  First, I stitched in the ditch (along the main zig-zags).  Then, I echo-quilted which means I ran a line of stitching about 3/8" away from the zig-zags.  I just used my presser foot's width as a guide.  Then, I quilted the sashing, added the binding (that final outer edge) using this tutorial from Sew Mama Sew and Mary on Lake Pulaski.

And, that was it!

The final quilt including the sashing and binding is 51" x 51".
The main print for the backing is Tula Pink's "Turtle Bay" print from her 2011 collection "Prince Charming" in Indigo.  Everything else was scraps and leftovers from my stash.

I hope this tutorial helps clarify the process of quilting something like this improvised quilt.  Have you ever quilted before?  What were your first quilts like?

Zig Zag Quilt Finished!

Happy Easter!  And, happy finished Zig-Zag Quilt!

The FMQ foot for my new machine is still on back-order so I decided I should just stop waiting and finish the quilt.  So... I did!


 I used a couple of tools to help me finish the quilt which I can recommend...


Firstly, I used the Robert Kaufmann Android phone app to help me calculate how much fabric I needed for binding and sashing.  You can find that here.  For i-phones you can find it on i-tunes.

Secondly, I used this tutorial to get a kind of hand cross-stitch look with a plain old zig-zag stitch on my sewing machine using this tutorial here.

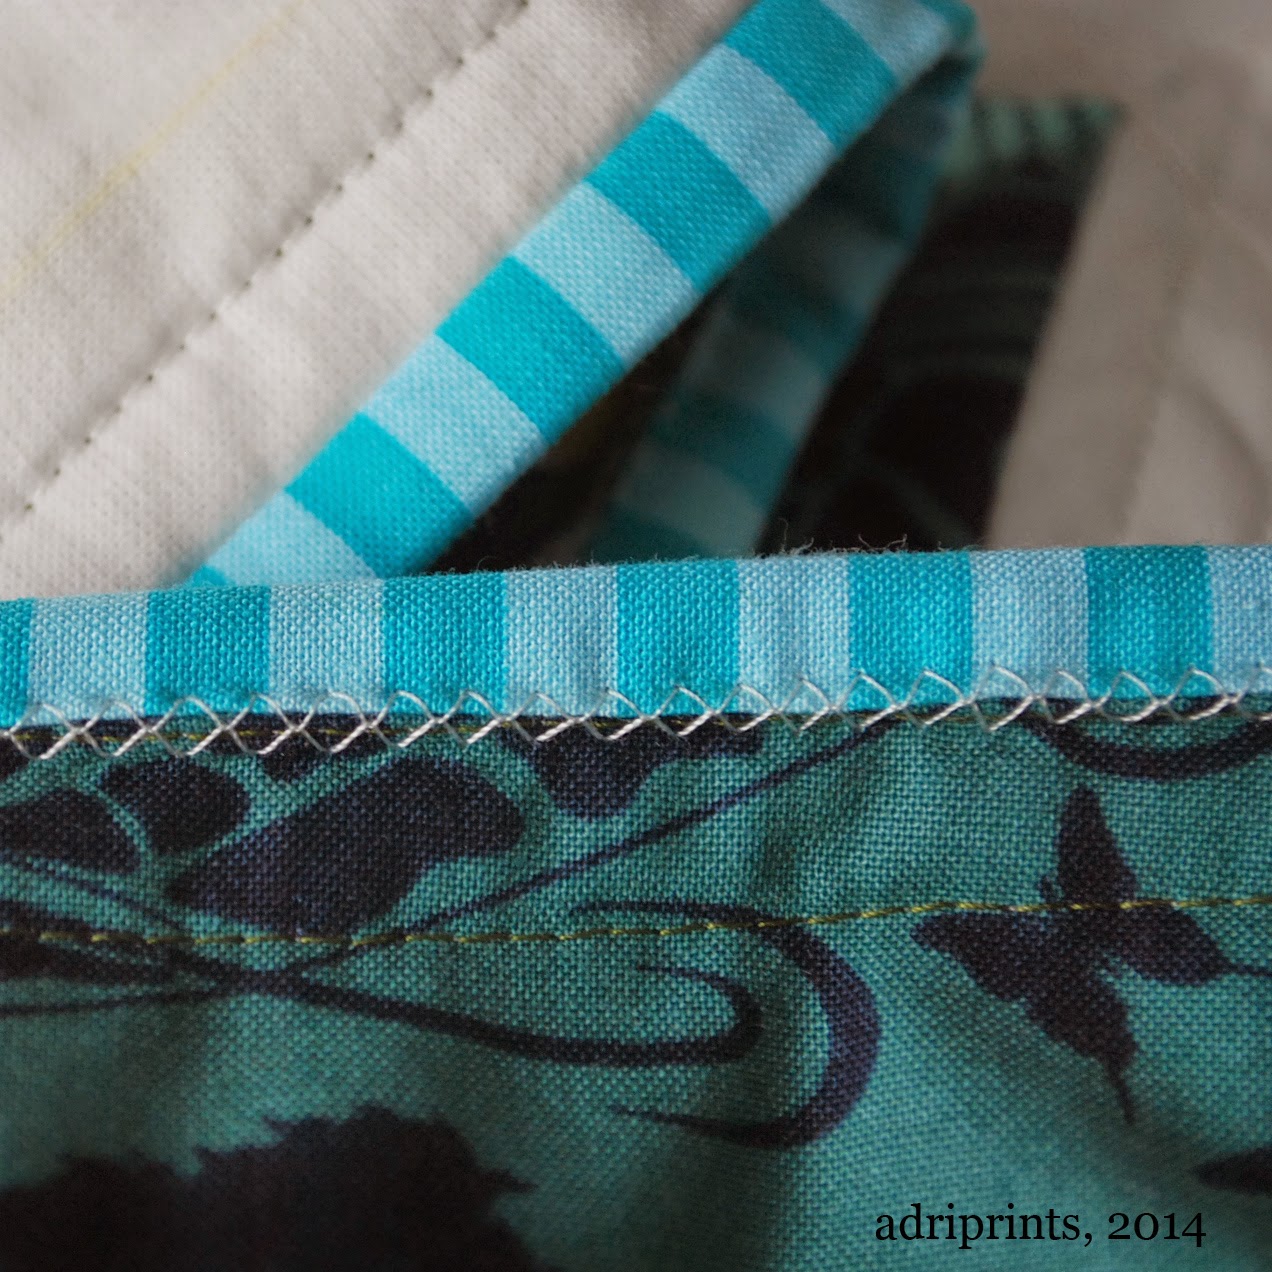
It looks like this when finished...


On the front, the finish is invisible, but the back has a pseudo-cross-stitch look which I really like!

And, that's about it.  I cut the striped binding fabric across the stripes so it would make a checkered border, and echo quilted the zig-zags to add some interest and structure.  I'm really pleased with how it came out, and hopefully the baby will enjoy crawling on it and being cozy in it!  I'll post a tutorial in case you all want to make your own zig-zag quilt.  It's fairly straightforward.

MK Tutorial: Mitered Detail with Short Rows


This tutorial is a machine knitting tutorial that leads up to the publishing of my pattern, "Mitered Detail Cardigan."  The mitered detail in the pattern can be accomplished in two ways.  The first way described in the pattern, is with short rows (also known as partial knitting) and by wrapping each stitch as they are put on hold.  In order to best show what I mean, I made a video tutorial for this one...


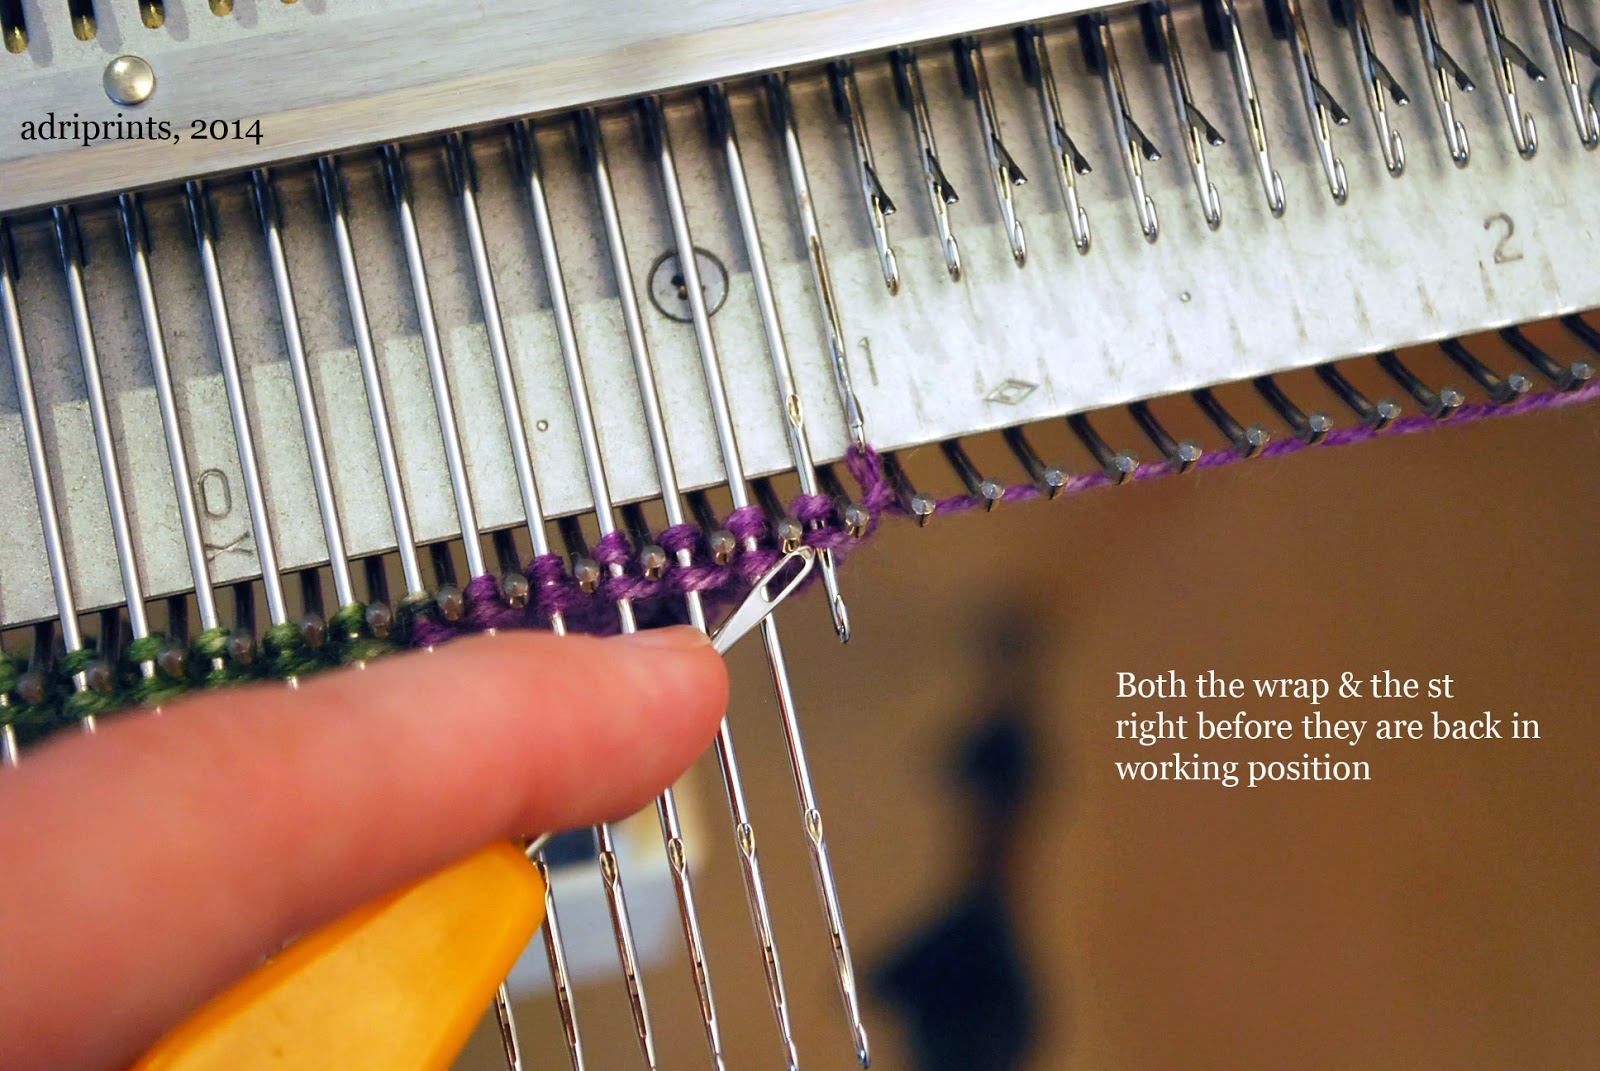
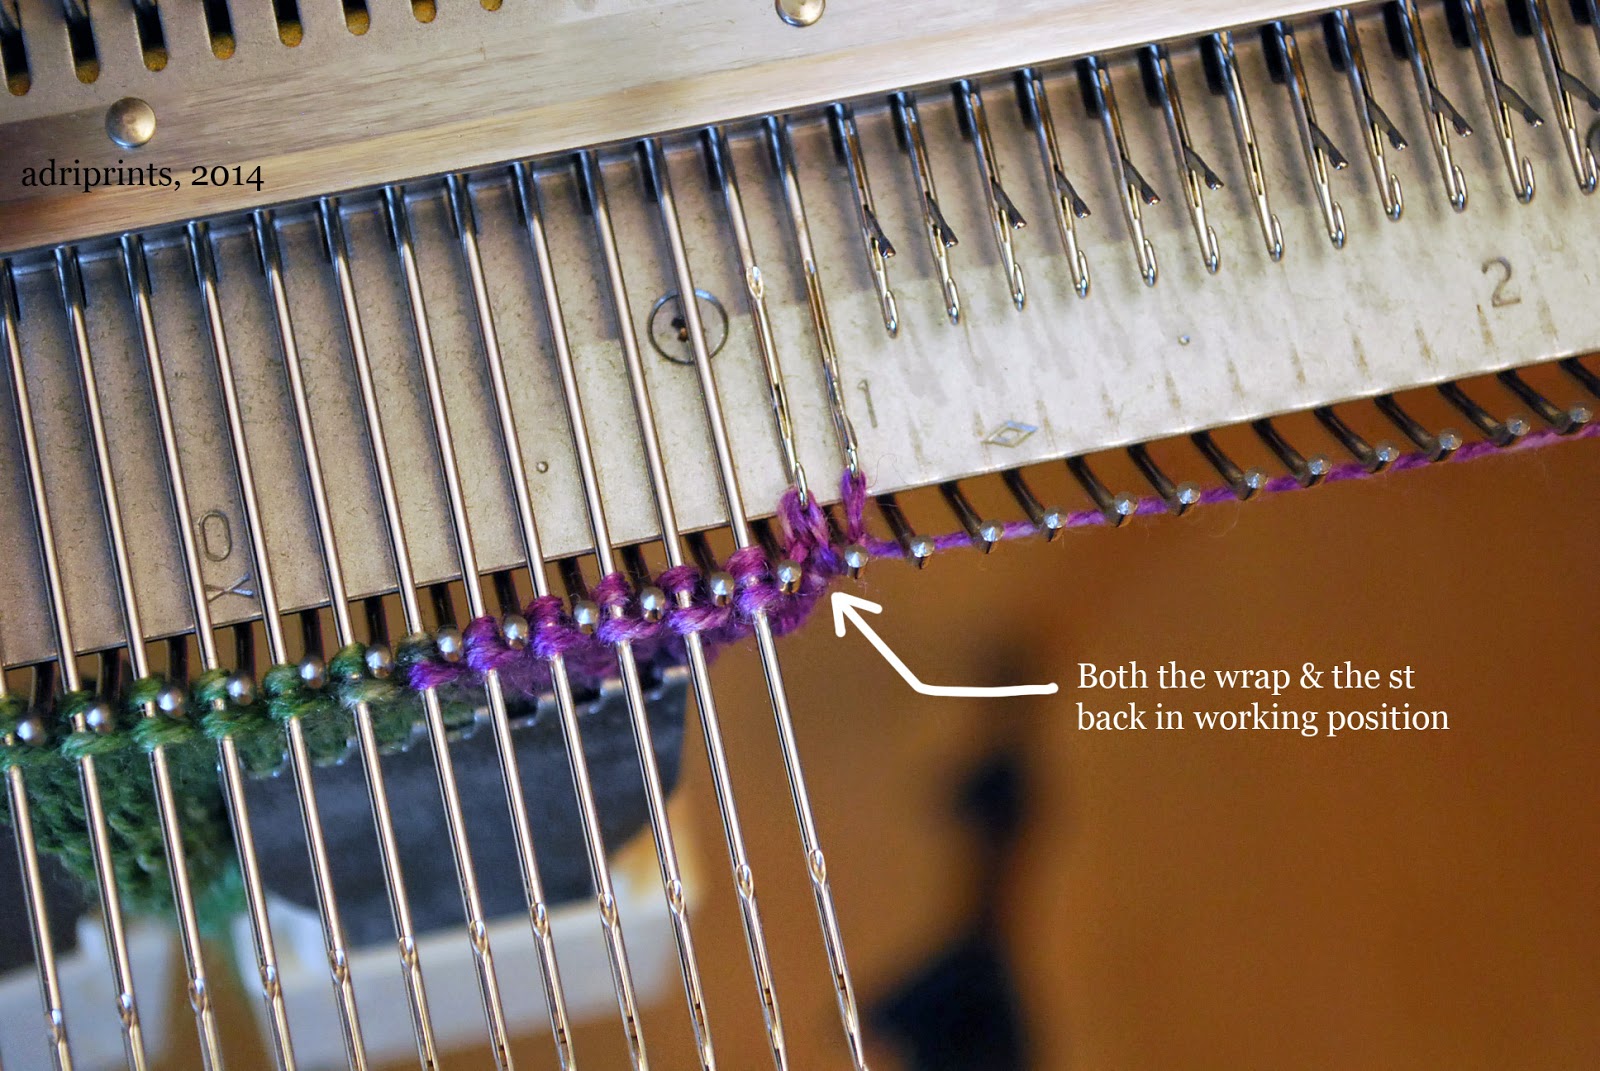
Just in case it's too blurry in the video, here are detailed photos of what it looks like to "reactivate" a stitch into working position.

Wrap & stitch back in the hook part of the needle.

Wrap & stitch ready in working position ready to knit.

Here's a mini sample showing the detail on the front and back.  I think the color pooling of the yarn helps show the order in which things were knit.  The green section happened first, then the purple.  With WS (wrong side - in this case the purl side) facing, this block was worked from left to right.


WIP: Zig Zag Quilt & Mitered Cardi

This past weekend, I made so much progress, but alas, I did not finish the quilt.

I do have the quilt sandwich ready to go, and am strongly considering a straightforward quilt-job instead of FMQ'ing.  See, the sewing machine shop sold me a FMQ'ing foot for my new machine (more on that later), but I could not for the life of me figure out how to install it.  I don't think it actually fits my machine.  So, I'll go check on that sometime this week.  In the meantime, here's my progress!

I finished piecing the top...


Added a border and pin-basted it to the batting and back...


All I need to do now is quilt!

As for the second Mitered Detail Cardi, here's where I'm at...


I've got to sew the side seams, knit one more sleeve, and add the edging!  So close!

P.S. If you haven't already entered, there's a giveaway in the previous post!  Feel free to enter and win a quilted fabric pouch.

WIP: Zig Zag Quilt

I'm making progress!


Earlier this week, I pieced together the HSTs (half-square triangles) into groups of 3, then I pieced the groups of 3 into zigzags!


Hopefully, by the weekend, I can get the top done and go buy some batting!  I'm going to do the back and binding in fabric from my stash.  I wonder if I have enough binding from the Blue Sampler Quilt to bind this one, too?  Hmm...

Zip Pouches and Boxed Corner Tutorial

Finished up two more zip pouches with the over-locker, and now feel like I've mastered boxed corners.


As you can see, the size of the boxed corner makes a difference in the depth of the box.  When I take out just 1.5" I end up with a shallower (3" high), longer box as you see on the left.  When each corner is 2", the height of the box is 4"; creating a taller, deeper box like the one on the right.

I was learning overlocker techniques from Amy Alan's Beginning Serging class over at Craftsy, and I wasn't finding too much success with the "pinch and sew" method of boxing corners.  I tried it several times, and the result was last week's slightly wonky zip pouch.  This time, I tried another technique - a cut-out method - and found success!

How did I do it, you ask?  I'll show you!

First, I measured and marked a square on each corner of the pre-prepped zip pouch.  The square you mark does not count the previously overlocked seam.  And, the sides of the square = half the eventual height of the zip pouch.


If you look closely at the above photo, I secure the layers of fabric so they don't shift when I cut through all the layers.  I use my tailor's shears to do the cutting since it grips while cutting, and doesn't over-cut at the corner like my roll-cutter sometimes does.


 Mark the edge.


Cut out the corner using your favorite grippy cutting tool.


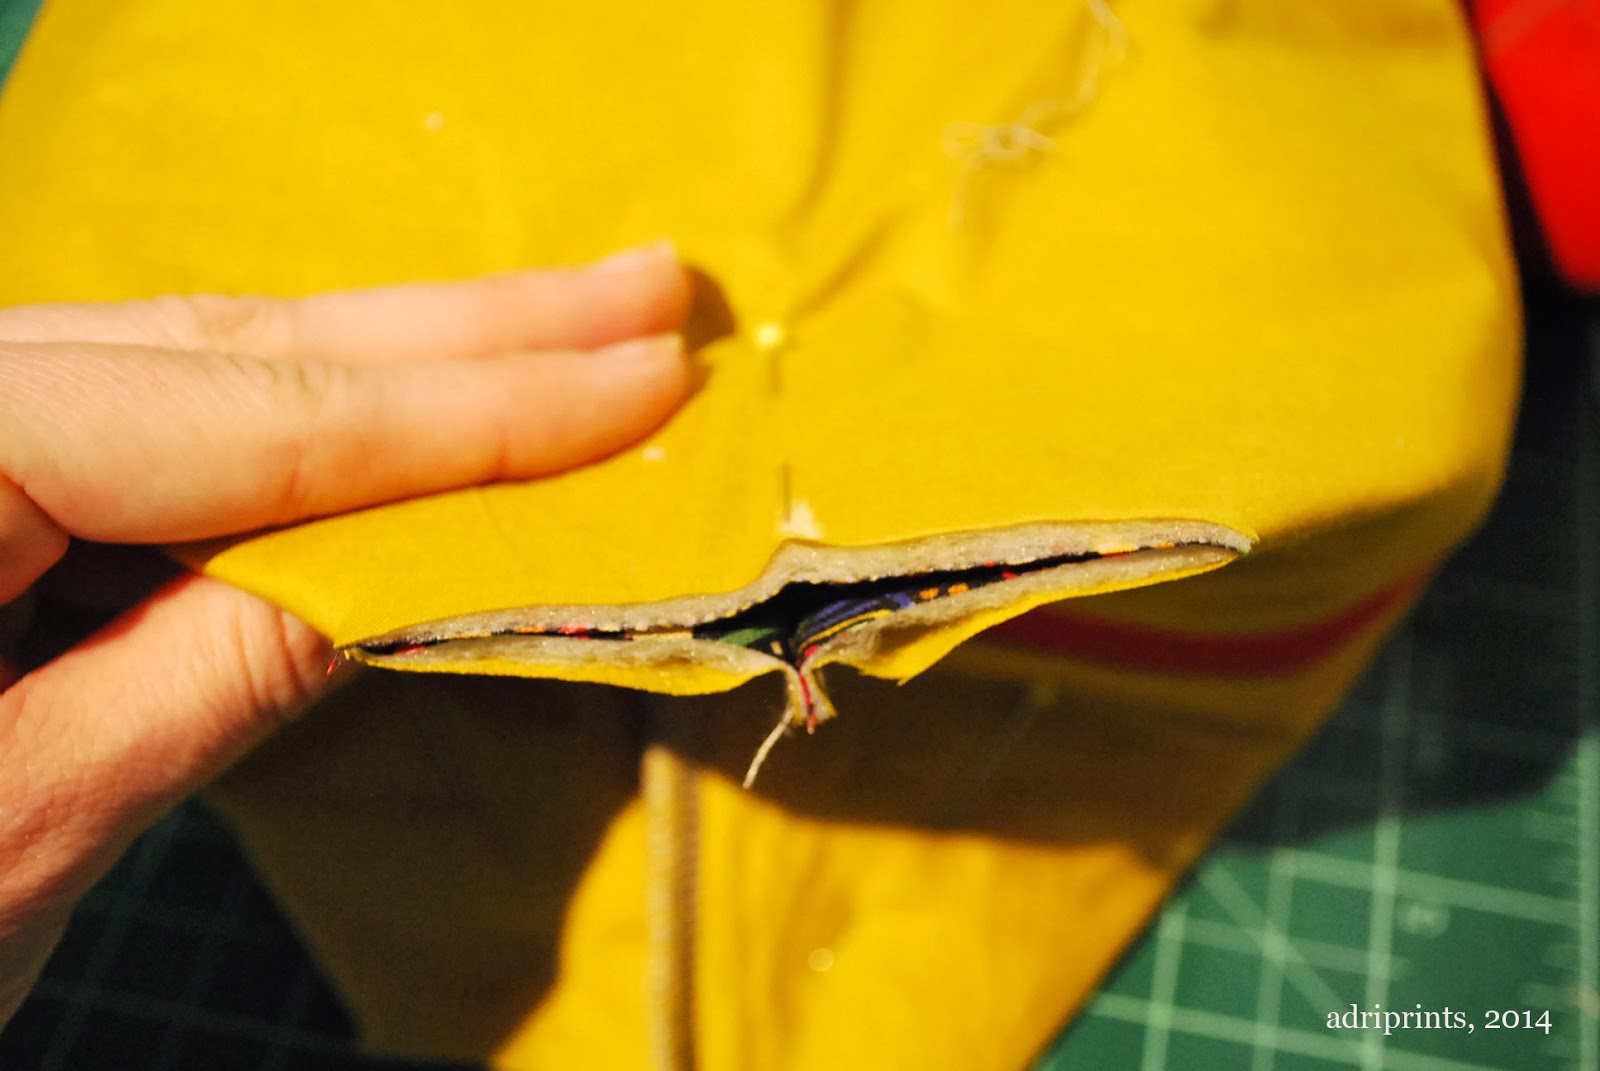
Use a pin to help secure the layers of fabric at the corner and mark the future center of the seam.  Pinch the fabric...


...and now you can line up your mark and pin with the center of the seam that goes across the zip.


Then, secure all the layers with pins, but remove that first pin that was marking the center so you don't run over it with your serger blade.  That would be chaos.  Those secondary pins should be far enough away that you avoid the blade of your serger, too.


Run the pinned seams through the serger and voila! Two boxed corners that are parallel, perpendicular, and totally symmetrical.


Whooo hooo!  A non-wonky zip pouch for your eyes to feast upon!