Tag Archives: knit

Knitting Machine: Fairisle Experiments

I am a huge fan of fairisle knitting by hand.  I teach a course every once in a while to people who want to learn the technique, and I enjoy spreading the love of fairisle wherever I go.  It's one of those techniques that looks way harder than it actually is.  And, very recently (last week), I started to experiment with the technique on my knitting machine using the punchcards.  At first, I was stymied by some technical issues with the patterning.

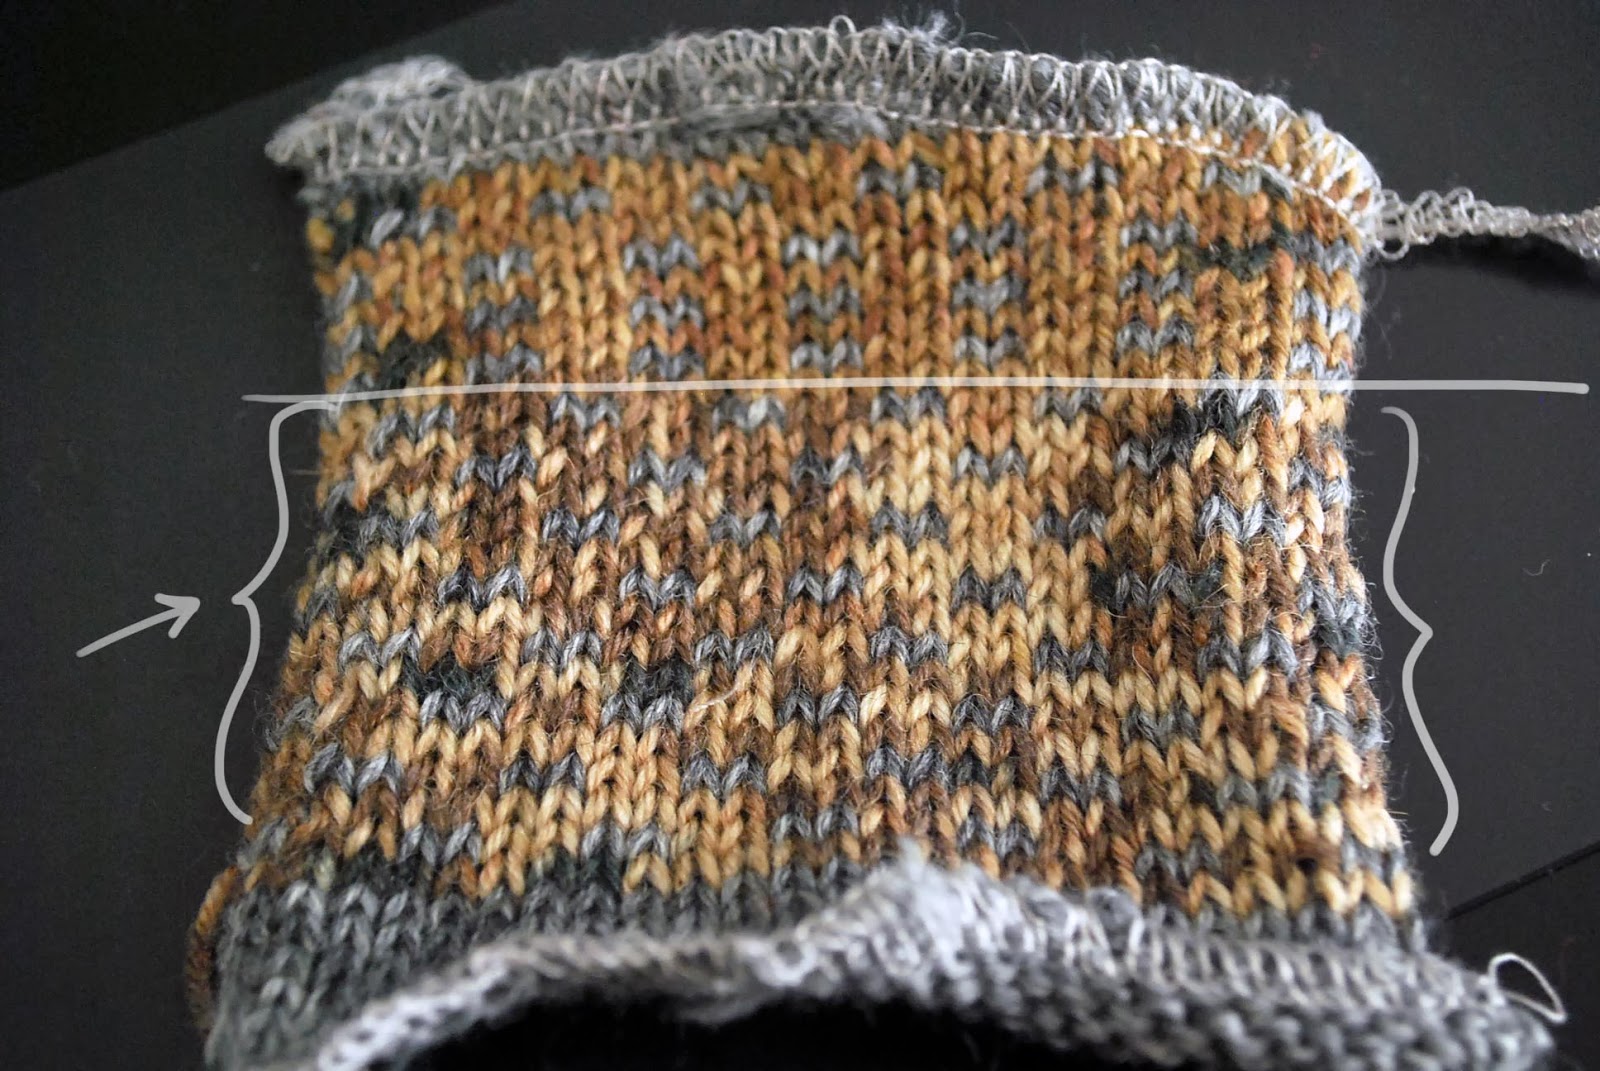
See what I mean?

Weird!  Why is it only knitting in pattern every other row?!

It was time for some detective work, and I consulted the amazingly generous and talented members of Ravelry's Machine Knitting Group.  Seriously, they are so knowledgeable.  First, I checked the lever settings as was recommended.  No luck. Then, someone chimed in with a similar knitting machine, and said it could be an un-sprung spring in the undercarriage of the knitting machine.

If you notice, every knitting machine has a carriage that slides across the bed of the machine and it's got tons of tiny cams, gears, levers, springs, etc. underneath that carriage.  I turned mine over and started by looking to see if changing the different modes (tuck stitch, stockinette, fairisle, etc.) made any of those levers move.  They usually move symmetrically, but low and behold, mine did not!


Instead, I found wads of cat hair, fluffy junk, and some sticky, gummy springs.  But, luckily, I didn't have to reattach a spring.  Those springs are tiny. They were all intact, just gummy.  So out came the latex gloves, rags, and machine oil... Fast forward fifty cotton swabs, tweezers, and a dirty rag later...


BAM!  ZIP!


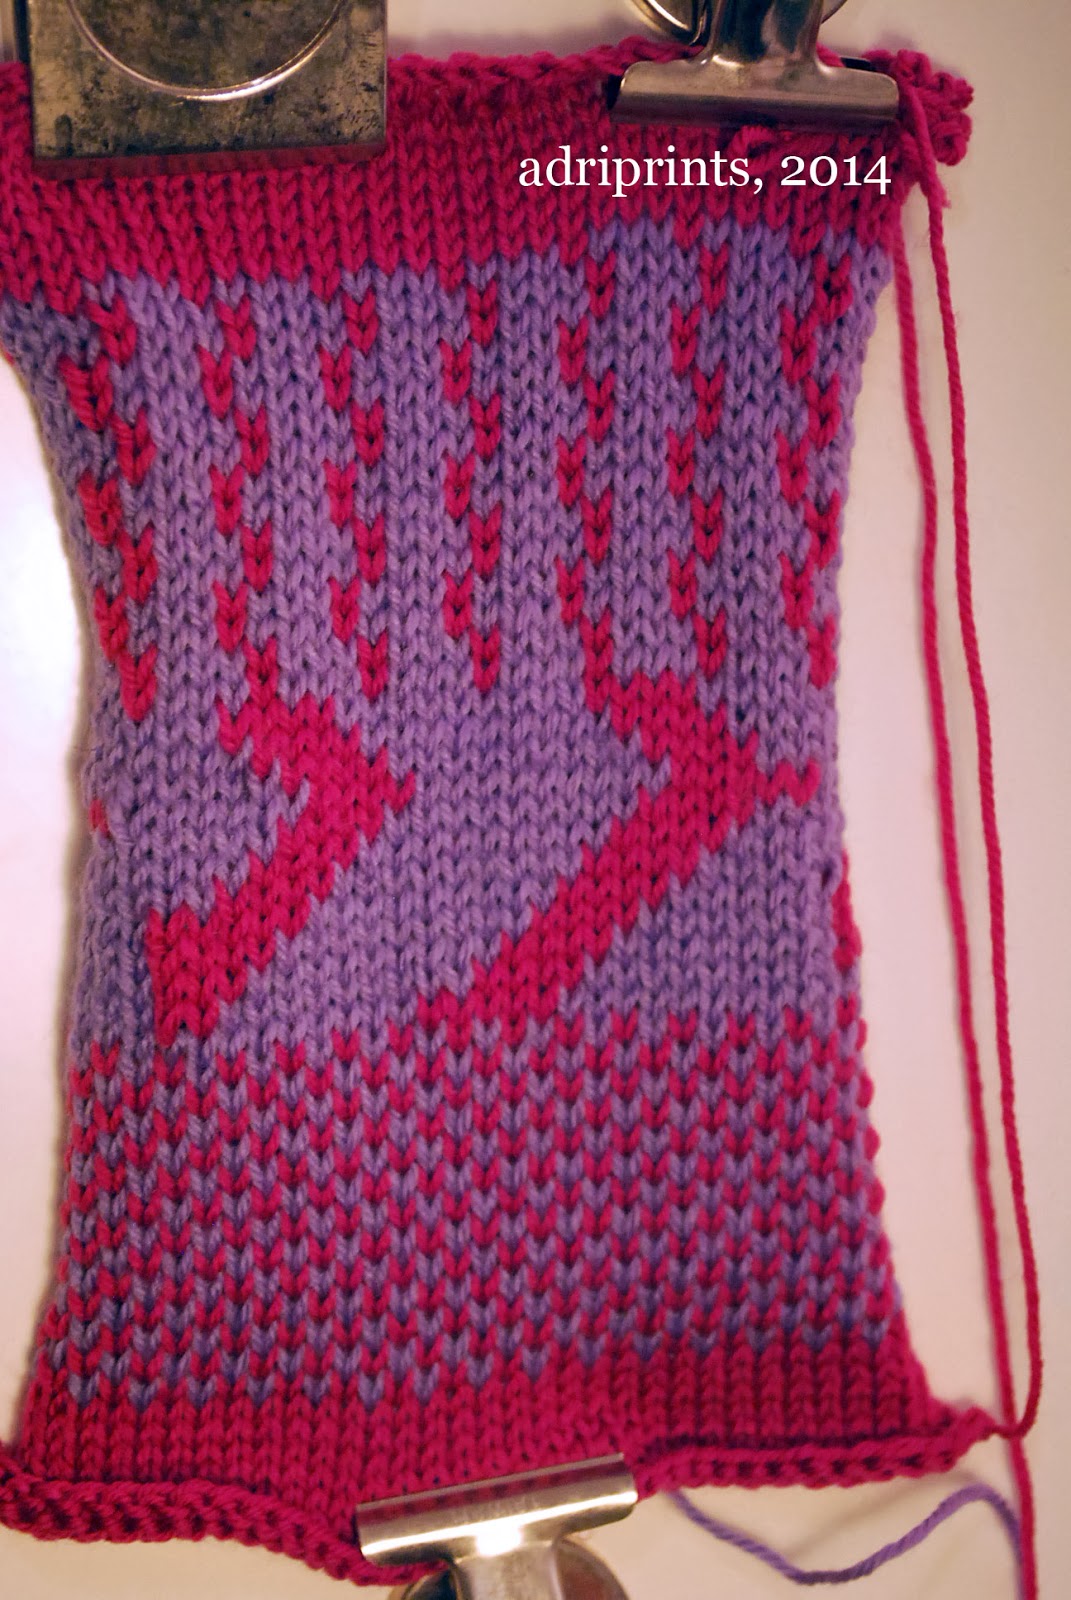
Success!

Thanks for your help, Ravelry Machine Knitting Mods!!   The Empisal Knitmaster 324's knitting smoother than ever.

I still prefer hand-knit fairisle for more complex patterning, and I especially dislike long floats like in that center pattern.  Yuck!  But now I know how use the punchcards on my knitting machine, and that's a start!

Unwinding

Sometimes you unsew, sometimes you unknit.  This weekend it was time to unknit and unwind... literally.


The project:
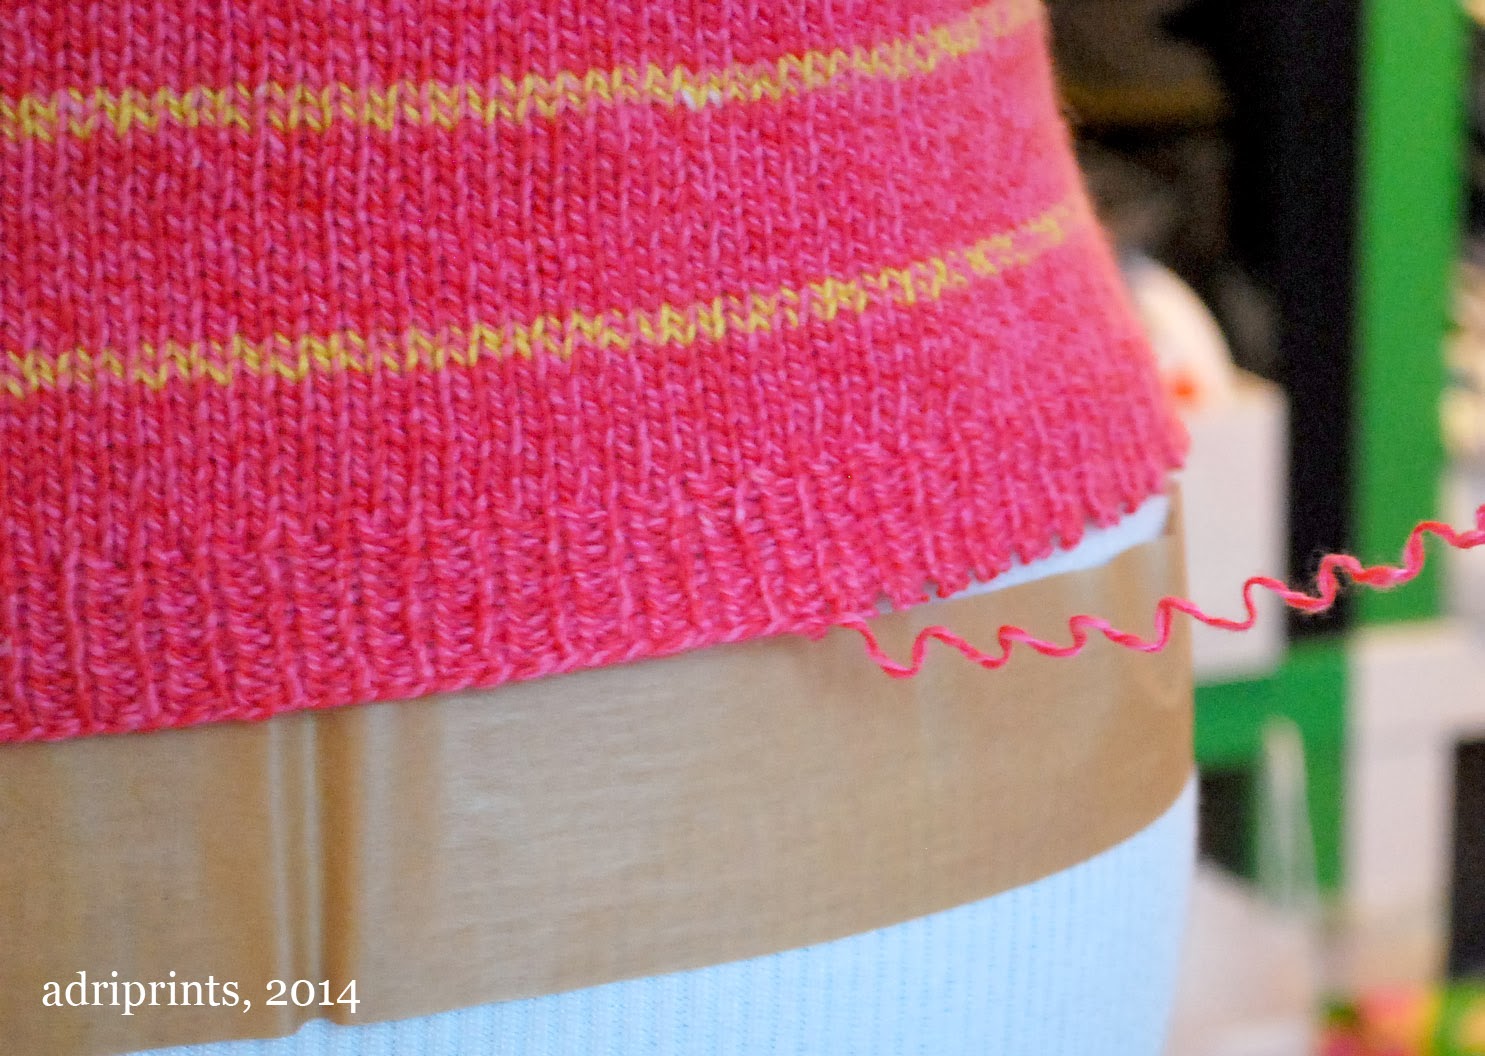
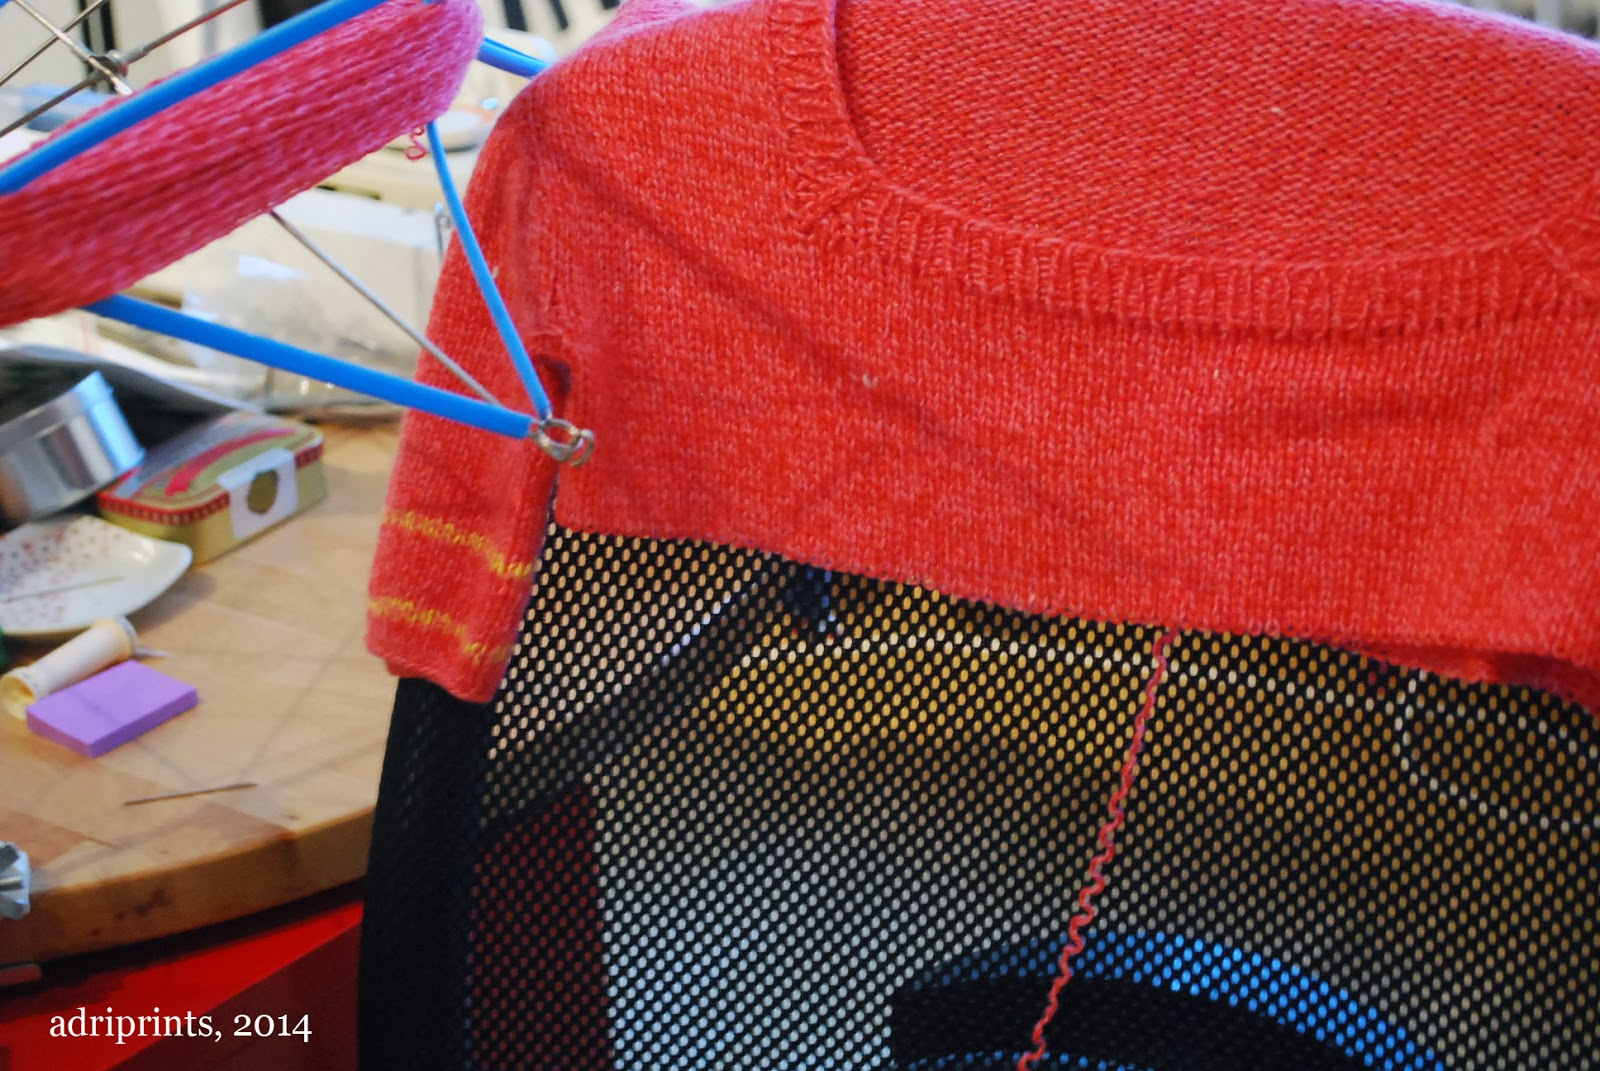
Avril in April was a contiguous method hand-knit top completed last year, but worn only once.  The sleeves and neckline were a bit too unflattering for me.  The neckline came down too low, and the sleeves were weird and poofy. Cool contiguous technique though!  The yarn used is a beautiful, bubble-gum/pepto/play-doh pink cashmere blend yarn.  So, I didn't want to just trash or donate it.  Despite the slightly pop-princess color, I truly love the yarn.  I also have some in play-doh yellow which I used for the stripes. I think it could be something else that I'd wear more often.  Yes.  Time to unwind!


Unwinding takes time!!


Every knitted stitch that was picked up needed to be unwound by hand with a hook or tapestry needle.  That took some patience, but in the end there's this!


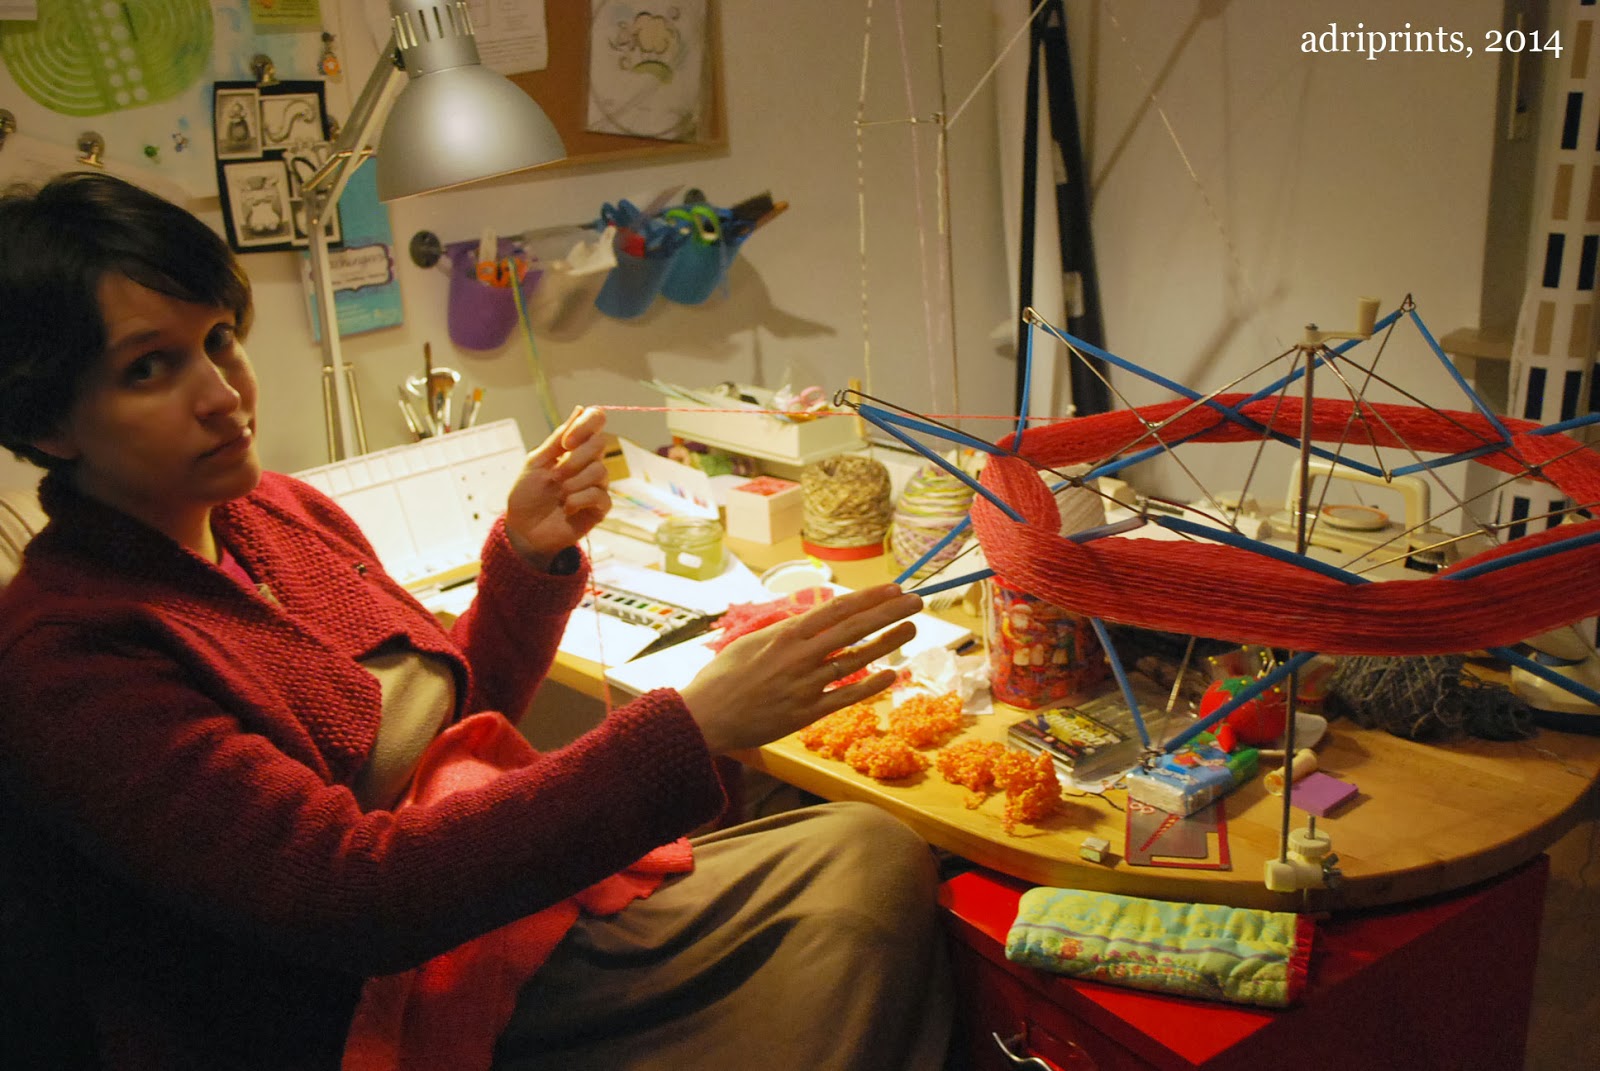
 A bunch of little pink balls and one big hank.  So, how do you re-use the yarn once it's all kinked up from knitting?  Well, next, I'll secure the yarn off the winder.  Then, I'll soak it and hang it to dry with a knitting machine weight on one end.  When it's dry, I'll re-wind it into a yarn cake and knit it up!

FO: Twinsies Baby Blankets


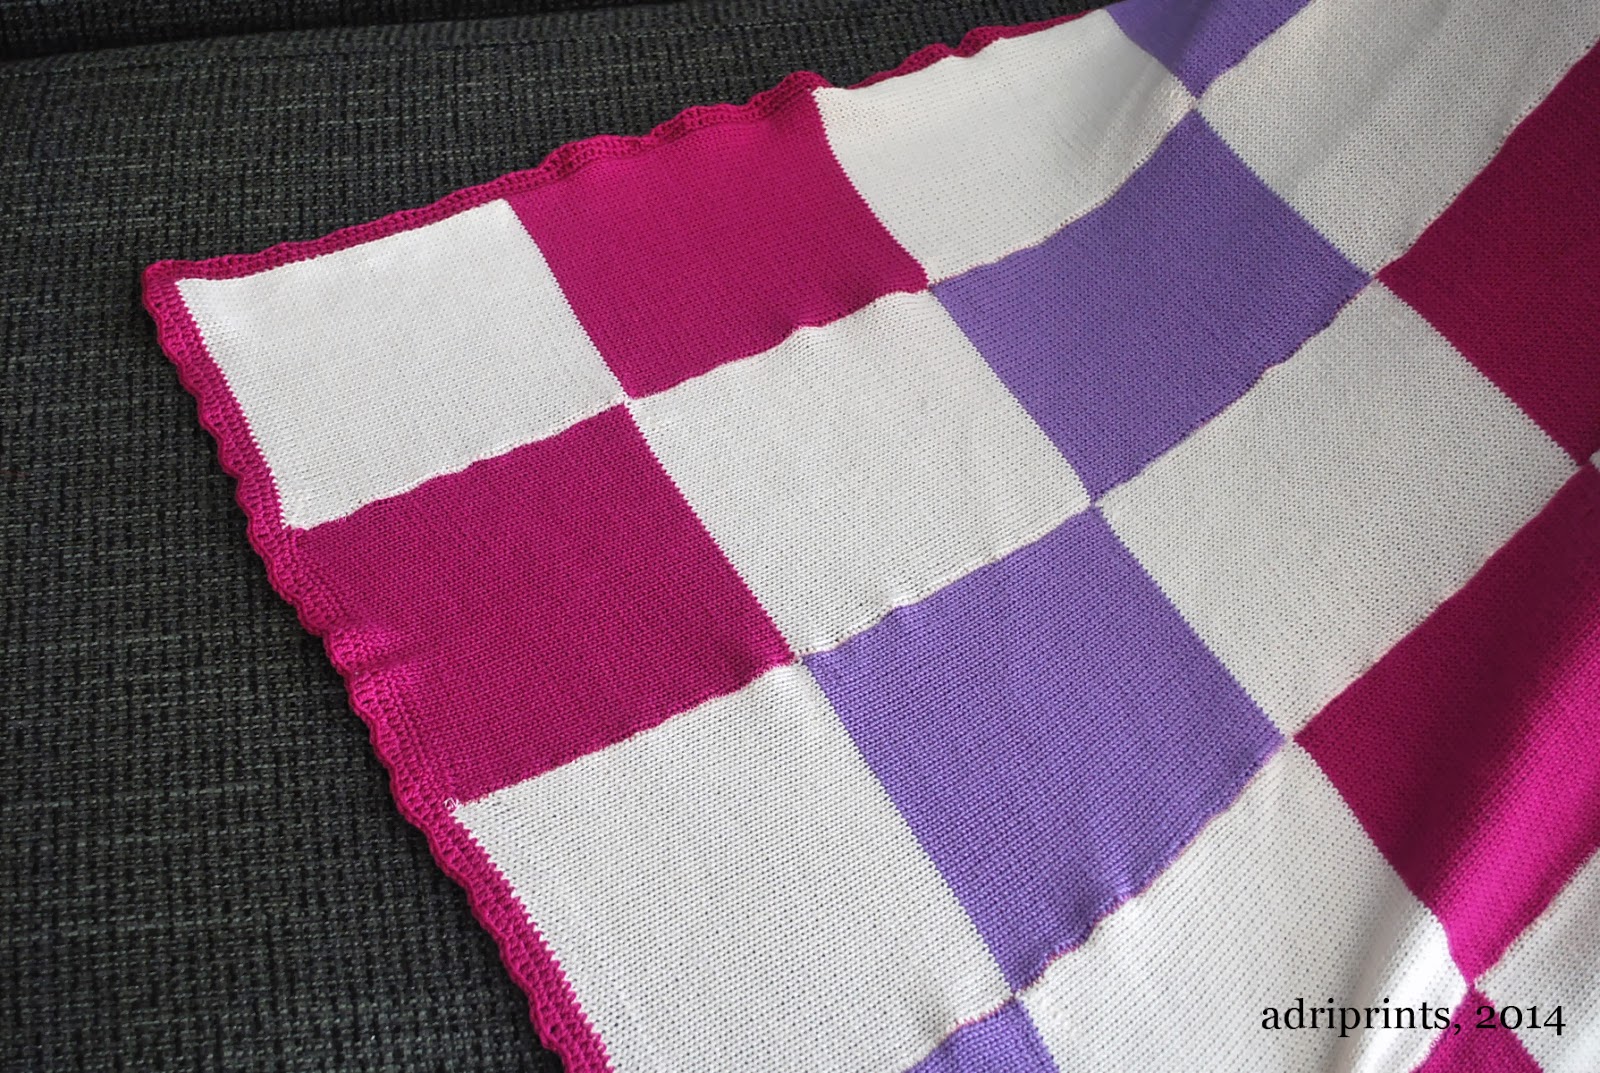
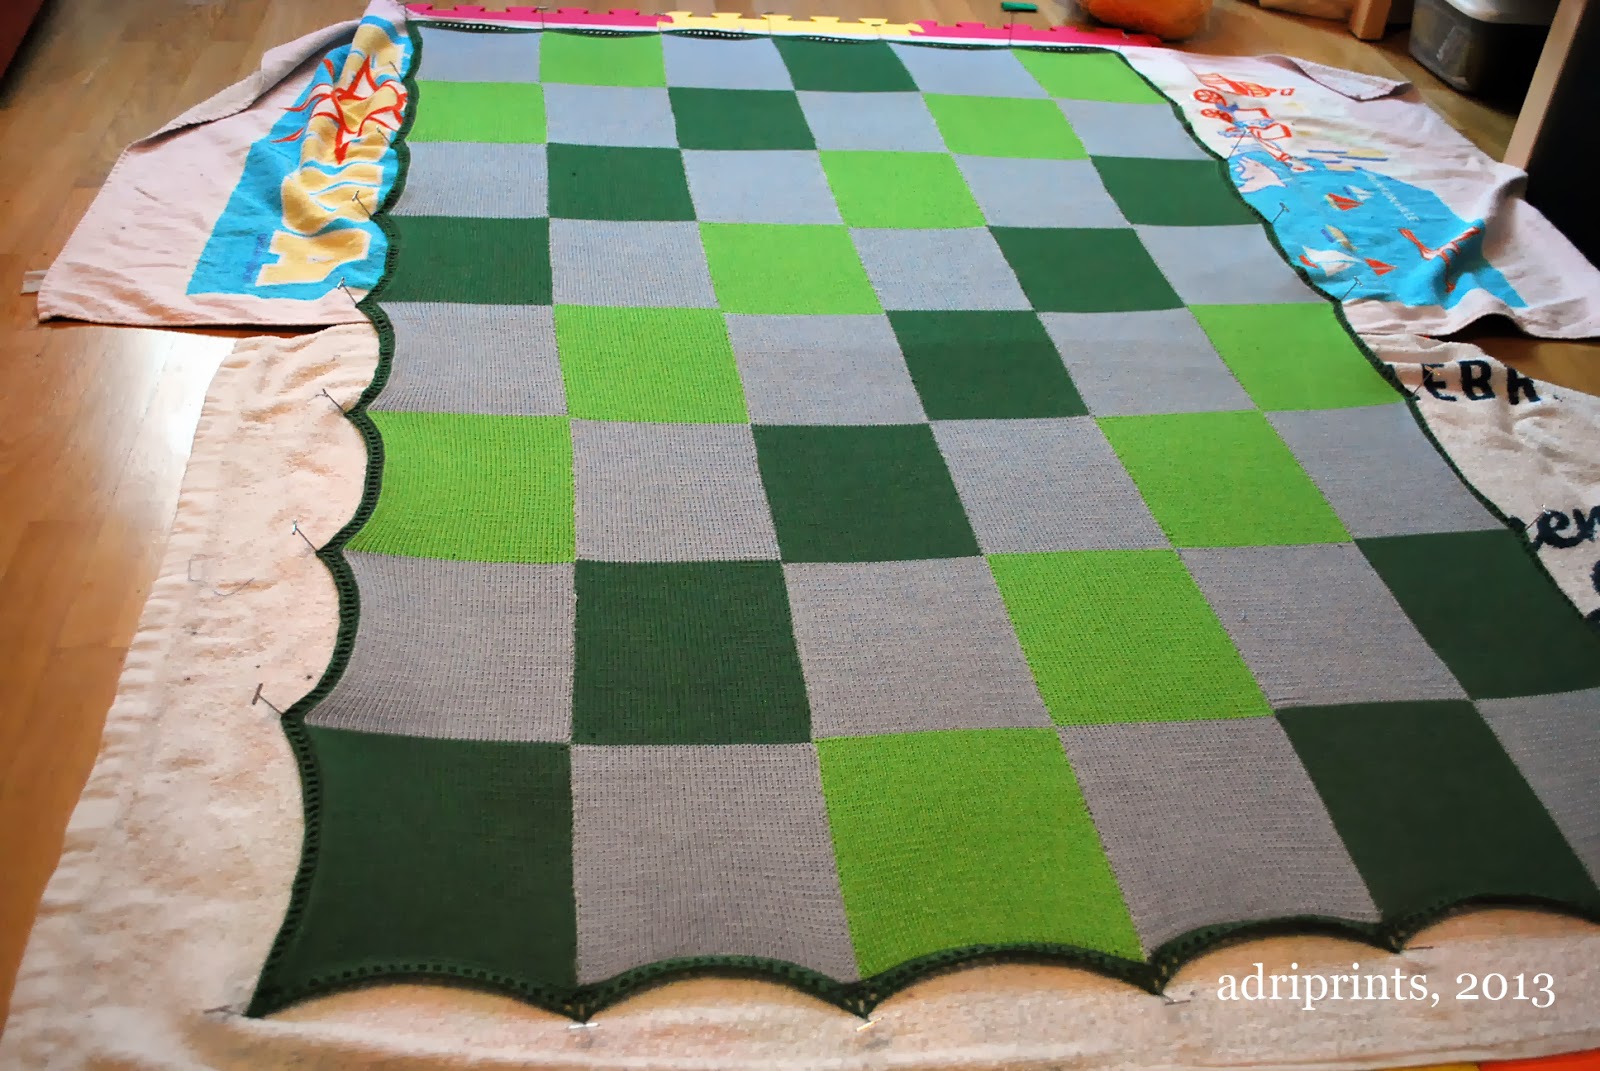
I finally finished my first big machine knitting project/commission!  The blanket was machine knit in strips, sewn together, and finished by using simple crochet borders.  The green blanket used a single-crochet border followed by a triple-crochet plus single chain stitch to create the dashed-dot look.  The pink/purple blanket used a series of increasing crochet stitches to get a subtle scalloped look.  Both were then steam pressed from the opposite side with a damp press cloth to stop them from curling... but they still kind of curl.


Both blankets are done!  I've already packed them and prepped them for shipping. :)

blocking

close-up
It's the first time I've done a dedication/title block/ blanket info square.  Hopefully the end-user will know not to shove these in the drier.  These are 75% superwash wool 25% nylon, but even then, I'd still avoid the drier.

dedication square
 Yay! Now, I can focus on knitting stuff for my baby!

Previous posts about these blankets:
Boy Twin Blanket Complete
The Concept

2014 Blanket Block-A-Long – February

As you might remember, Cris is designing a block each month using Juniper Moon Farm Yearling yarn. You can find her January post here – Lauria

I had an immense amount of fun designing and stitching the February block for the Blanket Block-A-Long.  Making a block take shape from just an inkling of an idea in my head to an actual thing on the needles is extremely satisfying.

This month’s block incorporates two different color work techniques, mosaic and intarsia.  I used the Hot Chocolate colorway as the base color and four other colors as accents.   Projects like these served as the inspiration for this block design.  However, rather than offsetting the bricks in each row, I preferred to stack mine in this geometric pattern.  (While I used 4 accent colors, this pattern could easily be modified to use fewer or more colors.)

Mosaic colorwork looks and sounds way more complicated than it actually is.  Designs in the fabric are created using slipped stitches.  In this block, I slipped the stitches that create the vertical “mortar” between the colored bricks.  The disadvantage of the way I stacked the slipped stitches is that it pulled at the edges of the block, making it pucker a bit both vertically and horizontally.

Intarsia is one of those techniques that I have both long admired and found intimidating.  When switching to a new color, you essentially drop the old color, and pick up a new one.  There are no floats across the back of the block, and you twist the strands yarn around each other to hold the block together.    I found Purl Bee’s intarsia tutorial extremely helpful in learning the technique.

While my first block needed only gentle blocking to get to the desired 12 inch x 12 inch size, I had to be much more aggressive when blocking this block because of the slipped stitches and the aforementioned puckering.

If you want the pattern for the February block, head on over to the blanket thread in the Juniper Moon Farm group on Ravelry.  I am sharing the patterns for testing over there.

I already have a design idea percolating for next month’s block, but I would love to have your feedback on the color.   January’s block was done in Chili Pepper (orange), and this month’s block is largely Hot Chocolate (brown).  For March, should I use Mermaid (blue) or the Butternut (yellow)?  Tell me what you think in the comment section, and I’ll use with whichever colorway the majority prefers.

Flarkin’s Blackberry Cabled Cardigan – the Blackberry stitch

One of the strong visual elements to the Blackberry Cabled Cardigan is the aptly-named blackberry stitch.

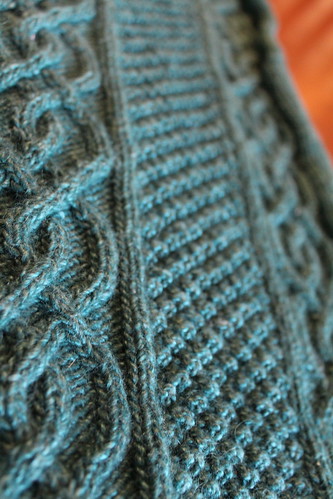
This bumpy stitch pattern, which resembles the surface of a blackberry, gives the cardigan a strongly textured fabric and helps frame the beautiful cables that run the length of the back, front panels, and sleeves.

The blackberry stitch isn’t for everyone though.  A quick look at some of the other completed cardigans on Ravelry demonstrates that some knitters have made modifications to this stitch.  Some have opted to use a less textured stitch pattern, such as seed stitch or double-seed stitch, where others chose to eliminate the blackberry stitch altogether, replacing it with plain stockinette.

Personally, I like the texture of the blackberry stitch, but I did make a slight modification in how I actually produced the stitch.

The way pattern is written, the blackberry stitch is worked on the wrong side of the fabric, while all of the cables and sweater shaping are worked on the right side of the fabric.  This means that there are no “mindless” rows, no rows where you simply follow the stitch pattern from the previous row.  You have to pay attention to the cables while stitching on the right side, and then pay attention to the blackberry stitch on the wrong side.  That is a lot of thinking and paying attention, especially if you, like me, like to knit while doing other activities.

As a result, I modified the berry stitch so that it is worked on right side rows instead, and it has worked out beautifully.  (For more information on how I altered the stitch, you can visit my project page on Ravelry.)

Now, lest you think I am completely brilliant, I must confess that this was not my idea.  I totally copied this modification off of another Ravelry user.   Because Ravelry’s robust search feature allows you to search other people’s finished projects and filter results for those other people have found helpful, it is relatively easy to see how other people have modified the patterns and how to make those modifications yourself.   When I found the suggested modification, I made sure to link to it from my own project page and to mark it as helpful.  This gives the original knitter the credit for the idea and helps other knitters working on this sweater to know what I found useful.

 PS.  As you can see, I am having a heck of a time photographing the Junebug colorway in a consistent manner.  I’ll keep working on it.

Cris lives in bucolic western Kentucky with her husband, two children, and a menagerie of assorted four-legged creatures.  She spends her days as a librarian and her nights dreaming of a small plot of land where she could raise a few chickens.  She be found on Ravelry as Flarkin.

A Simple Sock and a Side of Crepes

Compared to last week, these are some underwhelming makes I present to you, but nevertheless they are worthy things (to me at least).


Firstly, a sock.  Yes, a single sock.  Every year I make my husband a single sock, and I use the chance to try out different techniques.  None of the handmade socks I make him match, but he wears them just the same.  This one's a tad bit late, but it was worth it.  He actually said this was his favorite sock ever.  It's a completely bespoke sock!  He actually said, "any new socks you make for me, make them like this one."  This is a first for him, and for me.  Alrighty!  Will do!  He's never actually expressed any opinion about the socks I've made him previously, but he's always worn them.  It's nice to know he liked this one!


So, how did I make this sock?  It started out easily enough by using a figure 8 toe-up cast-on such as the one in this video here.

Then, after increasing to 64 sts, I knit even in stockinette for several inches.  Next, I increased for the gusset at the instep of the foot (where the arch is), and this is where it got a bit goofy.  I ran out of yarn.  I finished the increases with just enough of the grey-brown yarn, and then picked up where I left off with a dark purple-brown yarn.


And here it gets even goofier.  I tried out about four different kinds of heels.  Somewhere in the six months I used to complete this project - dropping it for the big projects you saw last week - I made a nubbin at the back heel. This nubbin looks like a nipple, and I still don't know how I did it.  Despite the request for future socks to be identical to this one, I think I will omit it from future versions of the sock.  The last note I made about the heel was that I would next try a short-row heel.  I worked every stitch of the heel in wrap/turn short rows and then picked up all the wraps and decreased all the sole sts.  Then I knit in stockinette followed by a 2x2 rib.  Simple as that!

I will share a refined recipe for the sock if only to clean up my notes and have an exact pattern for me to follow for this year's sock.  You interested?

And now for something completely different...

A Side of Crepes Recipe:

1 cup of flour
pinch of salt
pinch of sugar
1/2 cup of water
1/2 cup of milk
2 eggs

You know the rest (mix dry ingredients, add wet ingredients, etc. etc.)
Spread batter thinly on a hot buttered skillet.  Brown. Flip once. Light brown.
I topped these with bananas and nutella, apples and nutella, crushed nuts and apples and bananas and nutella... photos next time I make them.  These were snatched up right quick.

Knit Now: Ammersee Top and Wind & Storm

When you design and submit patterns to publications, you never know what will strike an editor's fancy.  In this latest issue of Knit Now, Issue #30, you'll find that my knitting pattern, Ammersee Top, is on the cover!  Had she not told me ahead of time, I'd have scared the neighbors with my squealing for joy.  This is the first time I've ever had one of my designs on the cover of any publication, and it was a very exciting surprise I'm so glad to share with you all.

Ammersee Top, photo by  Dan Walmsley, (c) Practical Publishing

Ammersee Top is an alpine-inspired short-sleeved top featuring stranded colorwork, and hand-embroidery to finish the look.  The sample was knit over a speed knitting session of two weeks or so in the fall.  You may recall a bit of a hint when I revealed the button placket in this post here.

Ammersee Top, photo by  Dan Walmsley, (c) Practical Publishing
Also,  in this issue is a favorite pattern of mine which I've been trying to get published since I imagined it.  It's called Wind & Storm, and was inspired by last year's interminable winter (although it could totally fit with the U.S.'s current frosty situation).  The pattern remained in sketch form for a while, so I was so happy to work with Knit Now and Blacker Yarns in order to make it a reality.  The yarn is really cool - I used specifically Blacker Yarns Pure Organic Wool Corriedale with Black Welsh Mountain - it's a real working yarn with body, but softens after washing.  It has this lovely marled look, but still allows for great stitch definition.  I spit-spliced all the yarn ends so I had no ends to weave in when I was done knitting.  Also, because of the quick turnaround, I had help from a friend to knit the sleeves on this beauty... Thanks, Emma!!

Wind & Storm, photo by  Dan Walmsley, (c) Practical Publishing

Wind & Storm, photo by  Dan Walmsley, (c) Practical Publishing

Wind & Storm, photo by  Dan Walmsley, (c) Practical Publishing

Issue #30 of Knit Now can be found here: http://www.moremags.com/knitting/knit-now/knit-now-30-565

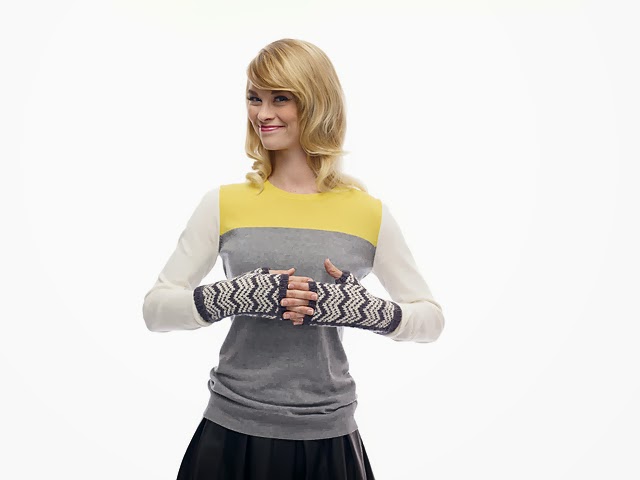
New Pattern: Laren Mitts!

I hope everyone is enjoying their holidays!  Earlier this week, this sneaky pattern was published without me even realizing it!  :D  ((Cheeky chevrons, getting all published while I was holiday daydreaming... ))

photo: copyright Harper Point, Knitscene 2013


Anyway, Laren Mitts pattern is now available in the Spring 2014 issue of Knitscene!

photo: copyright Harper Point, Knitscene 2013


photo: copyright Harper Point, Knitscene 2013

They make a great stash buster and gift since they knit up so quickly!

Details:
-Sizes 6¾ (7¼, 8)" palm circumference; shown in size 7¼"

Supplies:
-Yarn Zitron Finest Royal Alpaca (100% alpaca; 109 yd [100 m]/50 g):
• #6057 kitten grey (MC), 1 (2, 2) skein(s)
• #6059 porcelain (CC), 1 skein

Gauge: 24 sts and 27 rnds = 4" in Chevron patt on larger needles

Tools
• Size 6 (4 mm): set of double-pointed needles (dpn)
• Size 4 (3.5 mm): set of dpn
• Markers (m)
• Stitch holders
• Tapestry needle

Indie Gift-Along Interview 2 of 2: Ambah O’Brien

As part of Ravelry's Indie Design Gift-Along, I'm interviewing two knitwear designers. In the first interview we met Sarah Jordan (PAKnitWit).  In today's interview we meet Ambah, ambahobrien on Ravelry.

Mirri Collection, Ambah O'Brien

Hello, Ambah!  Welcome to my blog.  Just in case people don't know who you are... Who are you? Where are you? 
Hello I'm Ambah, and I design under my own name. I am an Australian and live in regional Victoria - about an hour away from Melbourne, in a vibrant artistic community.


Sounds lovely to live in an artistic community.  How did you come to design hand-knits?
I am an artist and always making, knitting has certainly captured my imagination and it makes sense for me to make designs based on my ideas. Initially I made some patterns for fun, to try out ideas, encouraged by a positive response I find myself completely addicted to manifesting my ideas into designs!

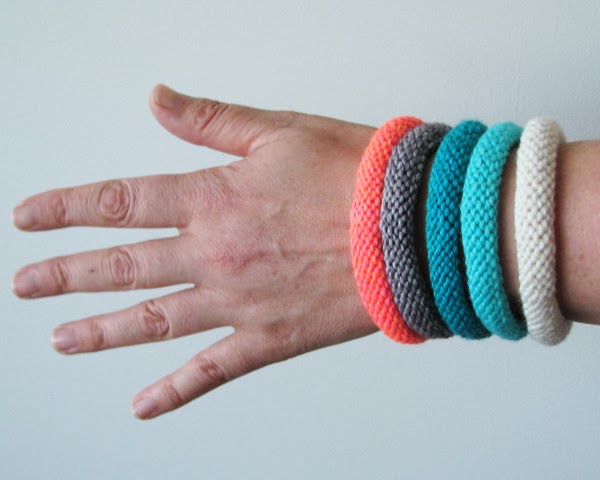
easy knitted bangle (free pattern!), Ambah O'Brien

Mirri Cowl, Ambah O'Brien
I love your aesthetic, Ambah!  What inspires your designs? 
I am inspired by everything. A need for an item, for example I wanted to knit my son a hooded jacket. Sometimes a yarn gives rise to an idea - I designed my Dreamy Valentine shawl after inspiration from the beautiful Valentine colorway in some Dream in Color yarn I had. Other times I am inspired by fashion, art, nature - life in general really; ideas pop into my head and I go to sleep dreaming about how to make it.

Maroo Mitts, Ambah O'Brien
Do you find yourself working often in a specific style? 
Not really, I love variety. Though as a new designer perhaps a style will emerge.

Magine Shawl, Ambah O'Brien

What is your favorite part of designing?
I do enjoy the whole process...apart from when I am tearing my hear out over something! Its so exciting when I realize my idea is working.

Who are your design heroes? 
How can I choose, I really find something to admire in everyone. I am fond of Kaffe Fassett's amazing work, I love the creativity and energy of Stephen West, I admire Veera Välimäki's beautiful designs. Gosh that is just a few names when I could easily mention a 100 more!

What do you see yourself doing/exploring in 2014?
I have more color work ideas, as well as being inspired by texture - particularly lace designs. I have a cute child's sweater I am mid process with that I am looking forward to finishing and perhaps some ladies cardigans - a personal favourite garment of mine.

Dreamy Valentine, Ambah O'Brien
I can't wait to see what you come up with in 2014! Thank you for stopping by, Ambah!
If you'd like to see the Ambah's latest work, check out her website: ambah.co.

- - -

And, readers, as a thank you from Ambah, she's giving away one of her patterns which you can see here. So the winner of this giveaway will receive the pattern of their choice from Ambah's collection, but even if you don't win, check out her free patterns:  Tassel Necklace and Easy Knitted Bangle.  They'd make a lovely holiday gift!

To enter the giveaway, use the Rafflecopter Widget below and click to enter. Simple as that! The giveaway ends on Monday.

a Rafflecopter giveaway


Commission Complete: Twin Boy Blanket

At last, I finished the machine-knitted blanket for the baby boy fraternal twin.  The longest part was the finishing...  Crocheting a border on the quilt was quite a feat using a 2.75mm crochet hook!

blanket being blocked
Instead of hand-grafting all the long strips together, I found a method that worked quite well... I zig-zag stitched them together using my sewing machine.  A zig went into one strip, and the zag went into the other.  This kept the edges bound together and sealed in the woven ends.


The crochet border was added as a nice finishing touch, but also helps keep the edges from rolling inward as machine knitted items tend to do.

I'm already onto the twin baby girl's blanket, and I'll post photos as soon as it's complete!

Previous post on these two blankets: http://adriprints.blogspot.de/2013/08/weekend-update.html